How to Add Google Social Login to WordPress
To add a Google social login to your WordPress site, so that users can log in and register via Google, you need to create a Google project and application.
Table of Contents
Creating a Google Project & App
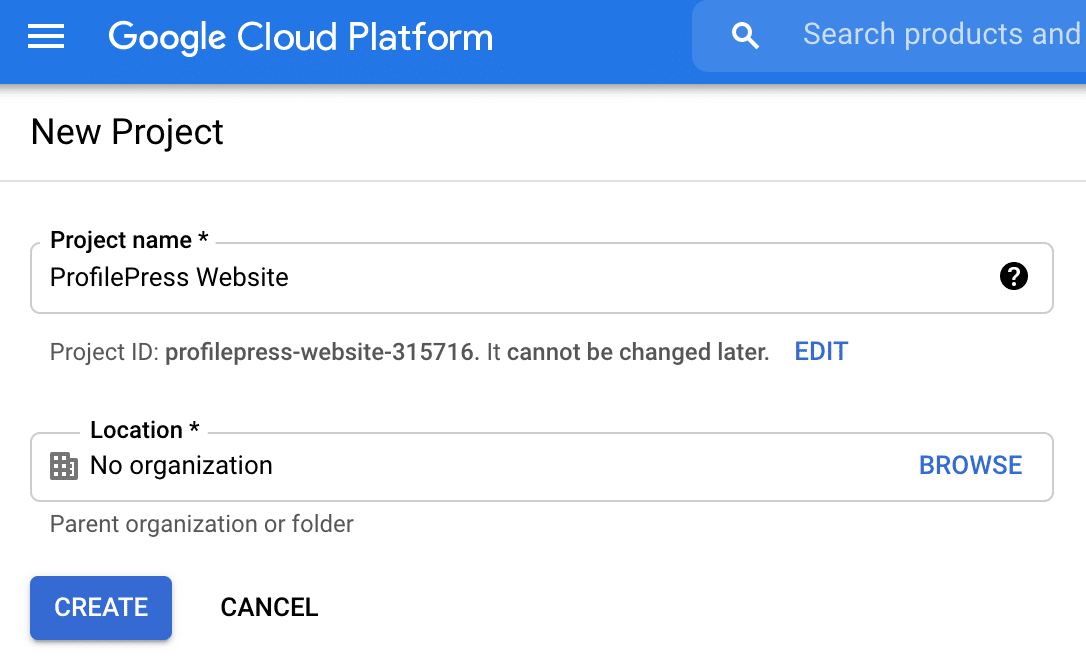
Log in to Google Developers Console using your Google’s account, click on the Create Project button and fill the form to create a project or select an existing project.
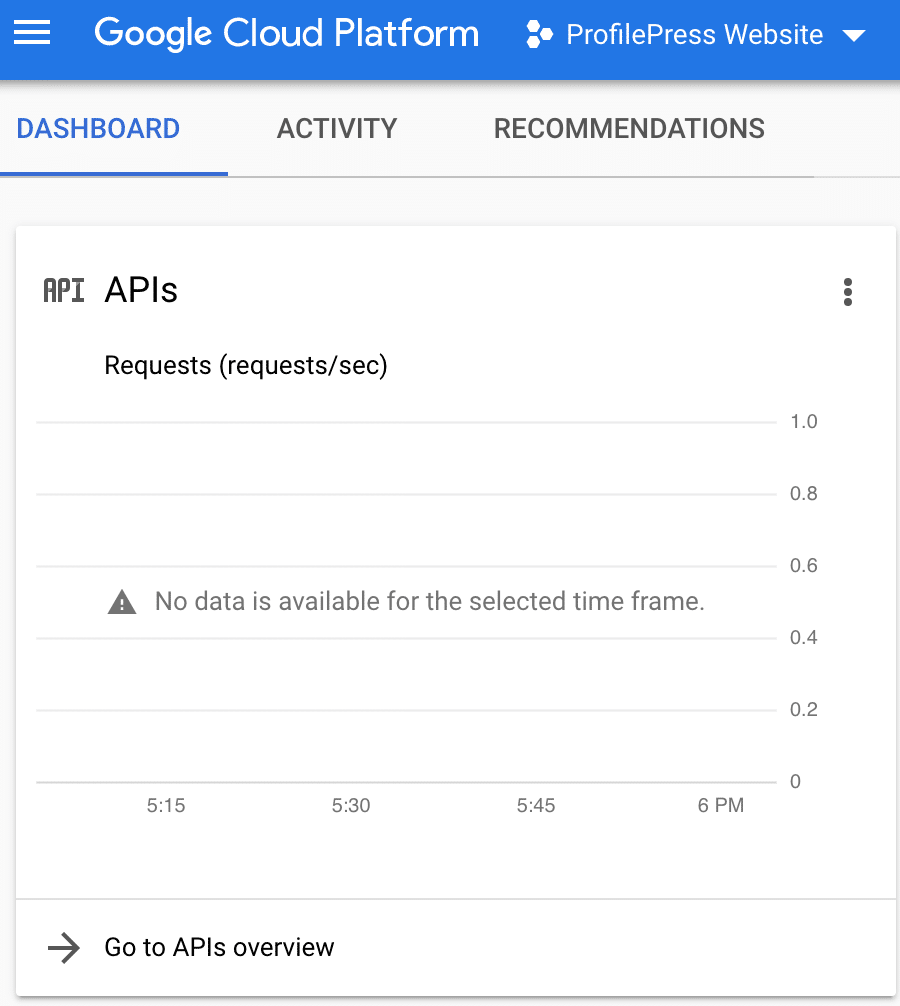
Open the project settings and click the “Go to APIs overview” link.
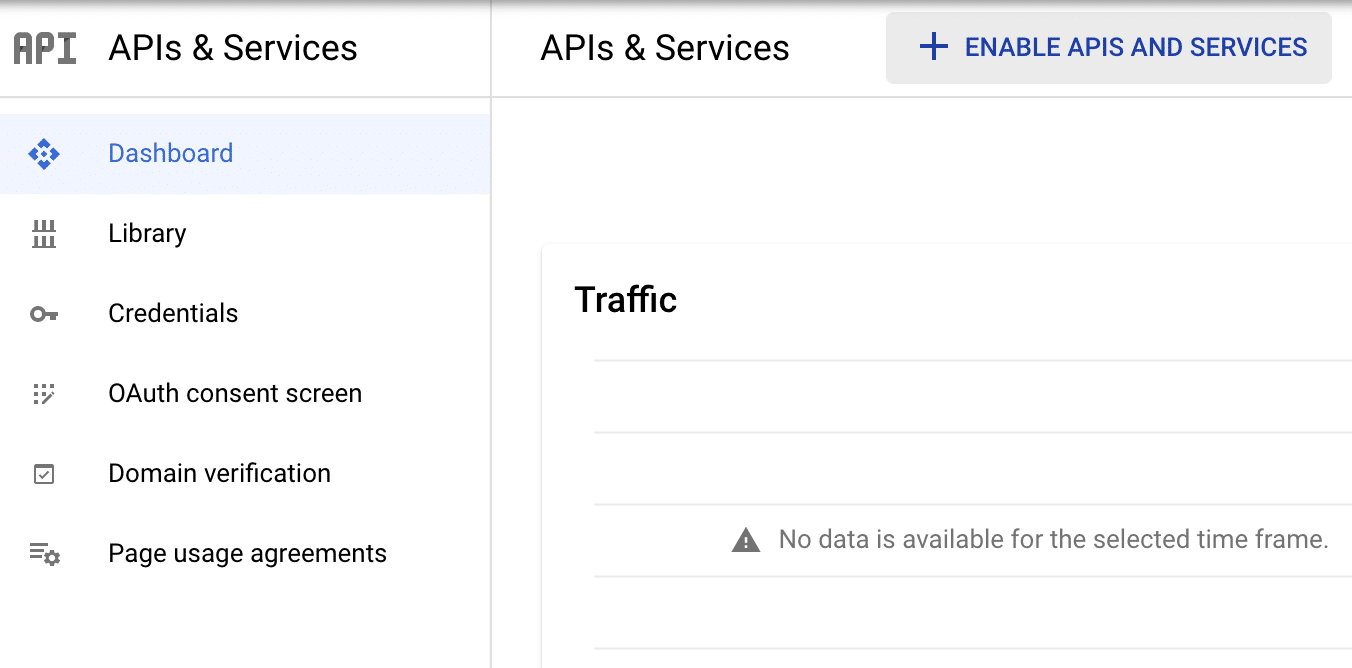
Click on the “ENABLE APIS AND SERVICES” button.
Search for “Identity Toolkit API” and enable it.
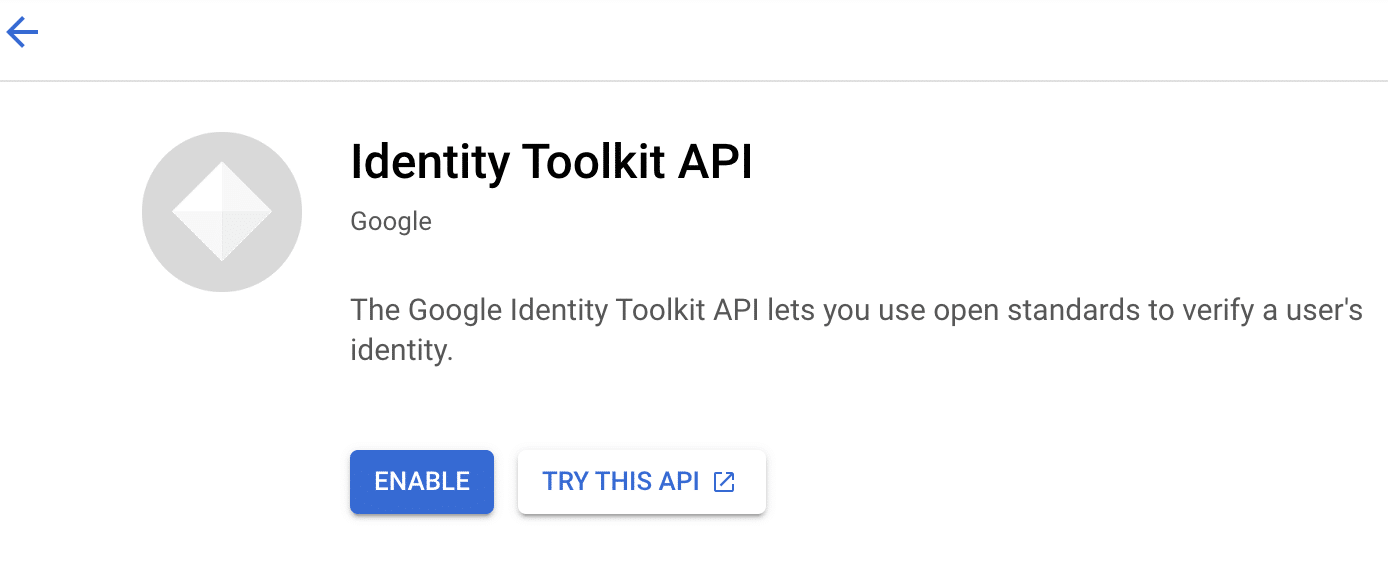
You will be redirected to its service page. Click on the Credentials sidebar menu >> Create Credentials button at the top >> OAuth client ID.
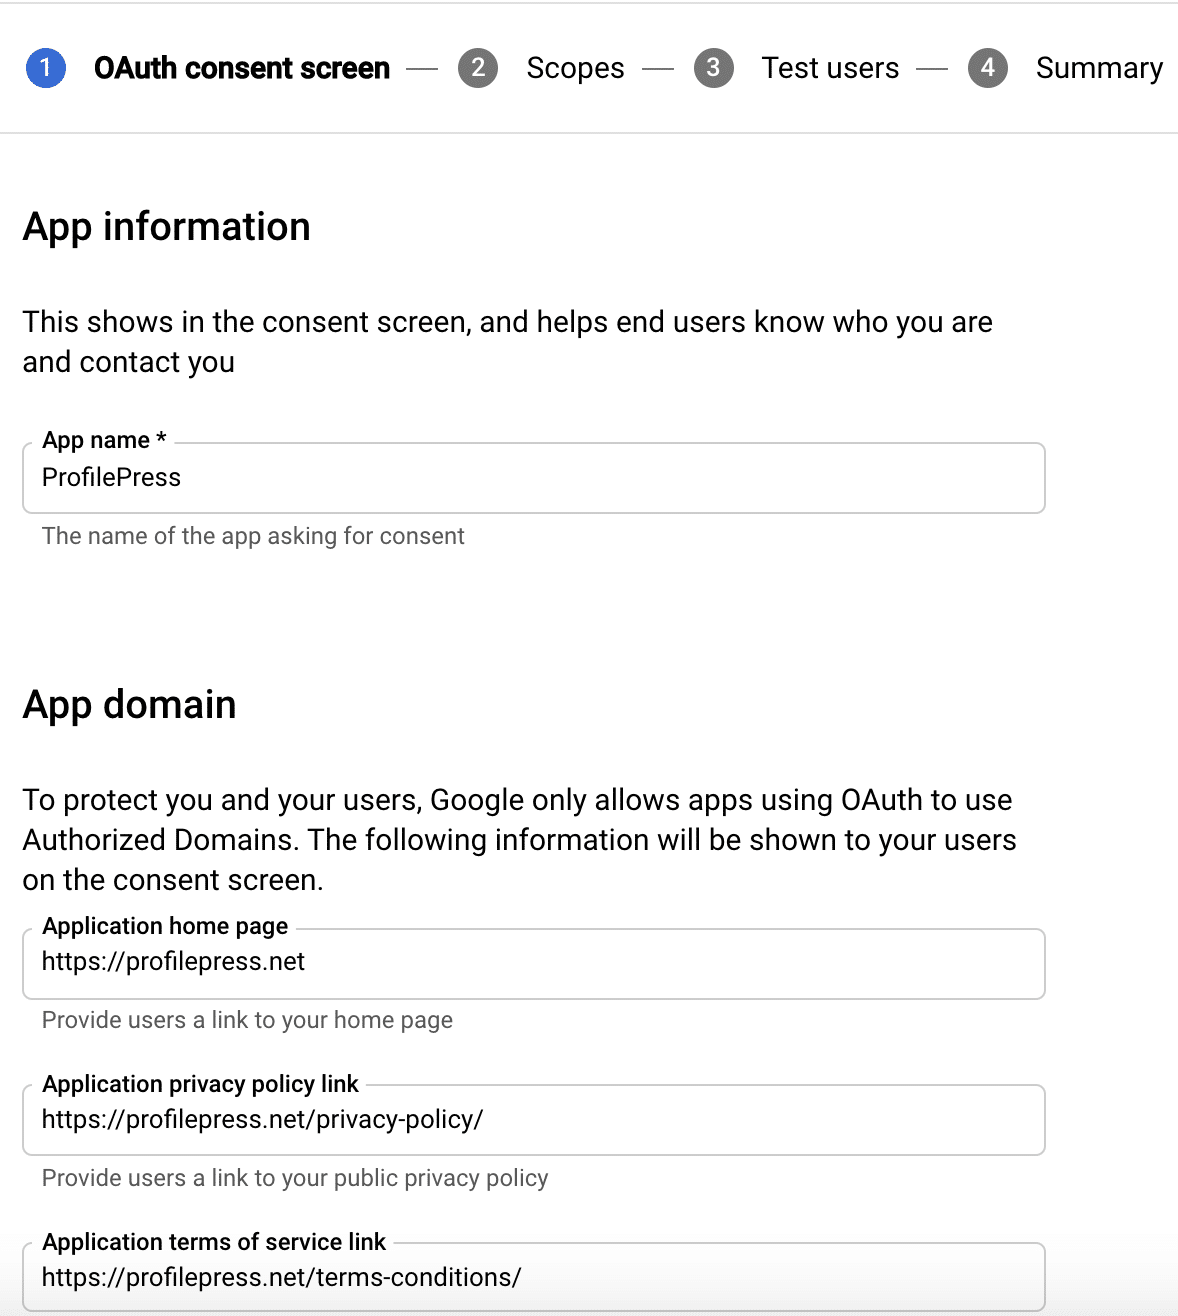
Before you can create an OAuth credential, you might be asked to first complete a consent screen with information about your application where you will need to supply an App name, logo and authorized domain as well as URL to your homepage, privacy policy and terms of service.
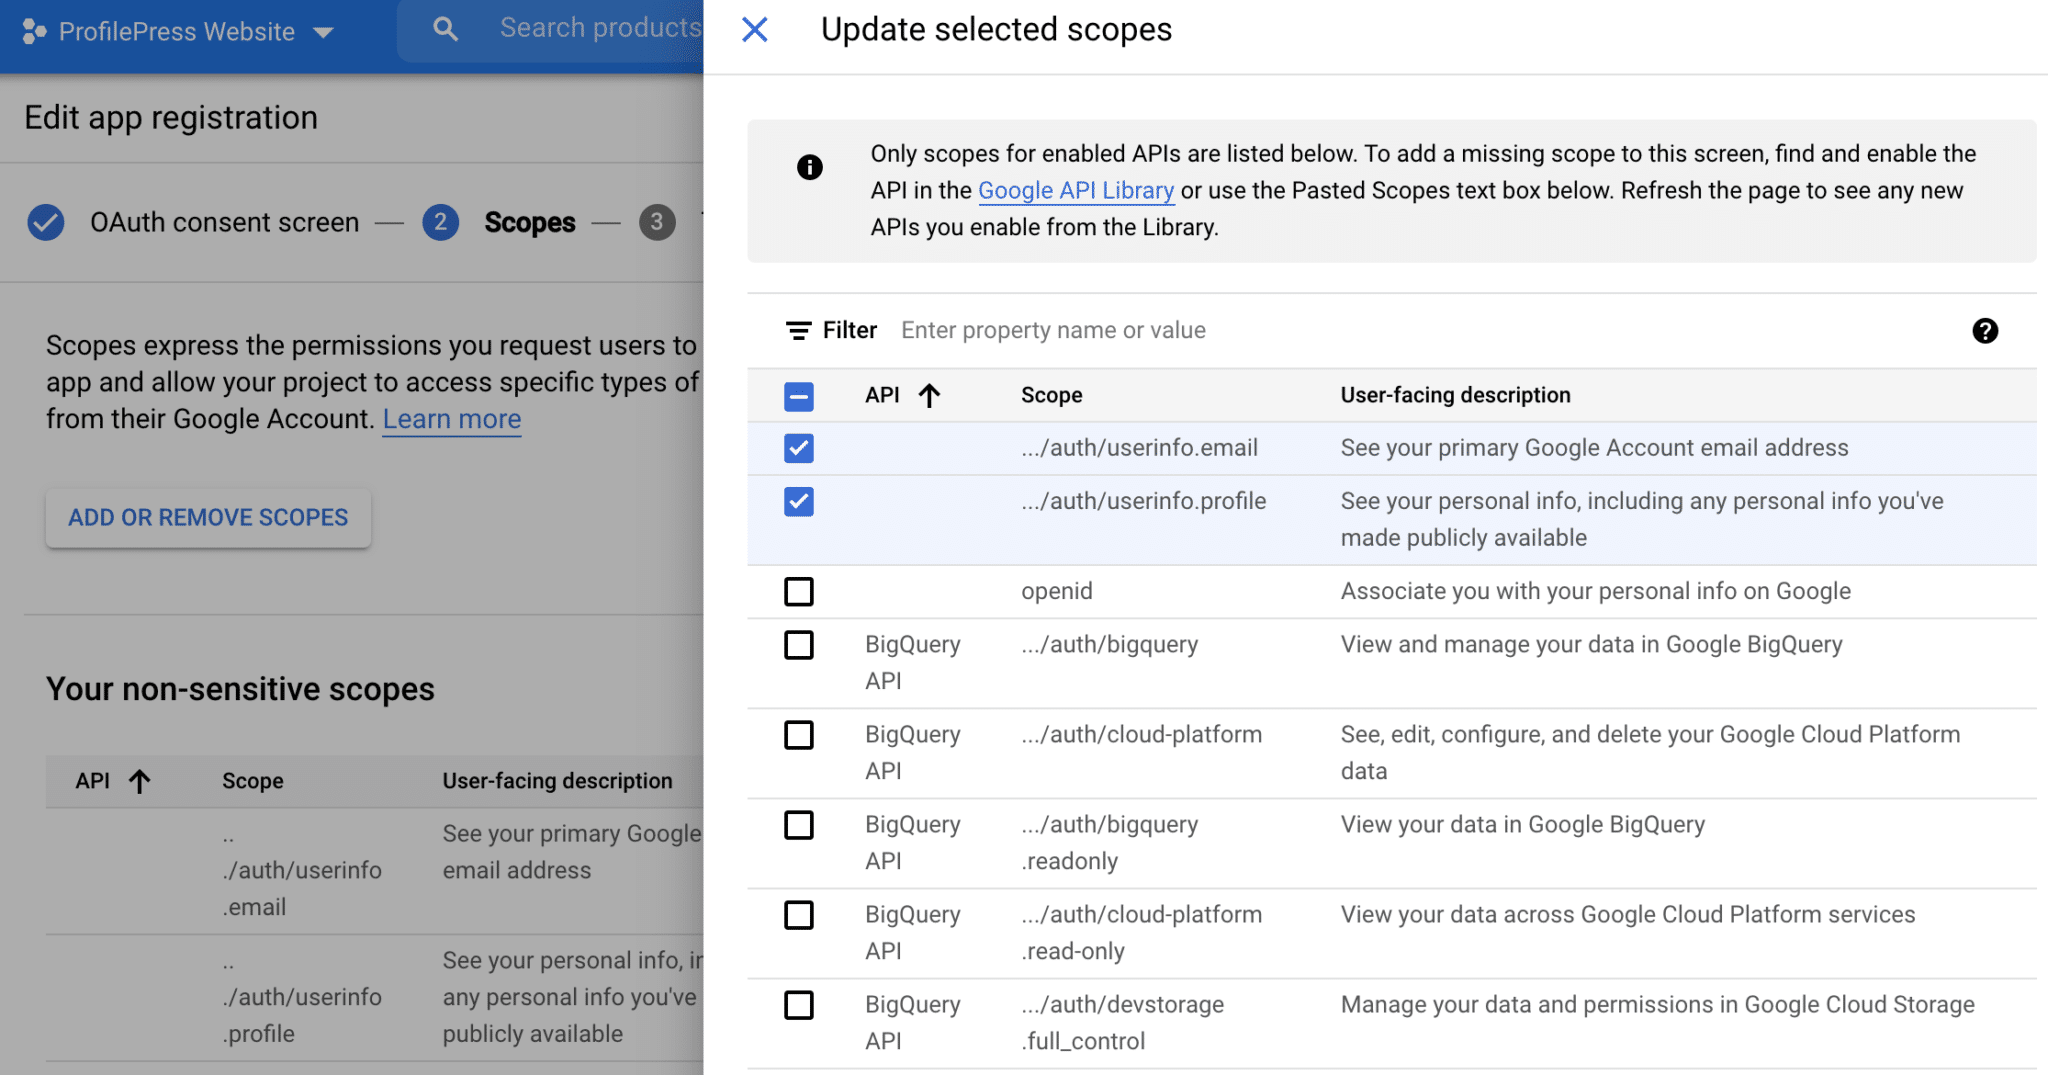
Save and continue. On the Scopes screen, add the following scopes.
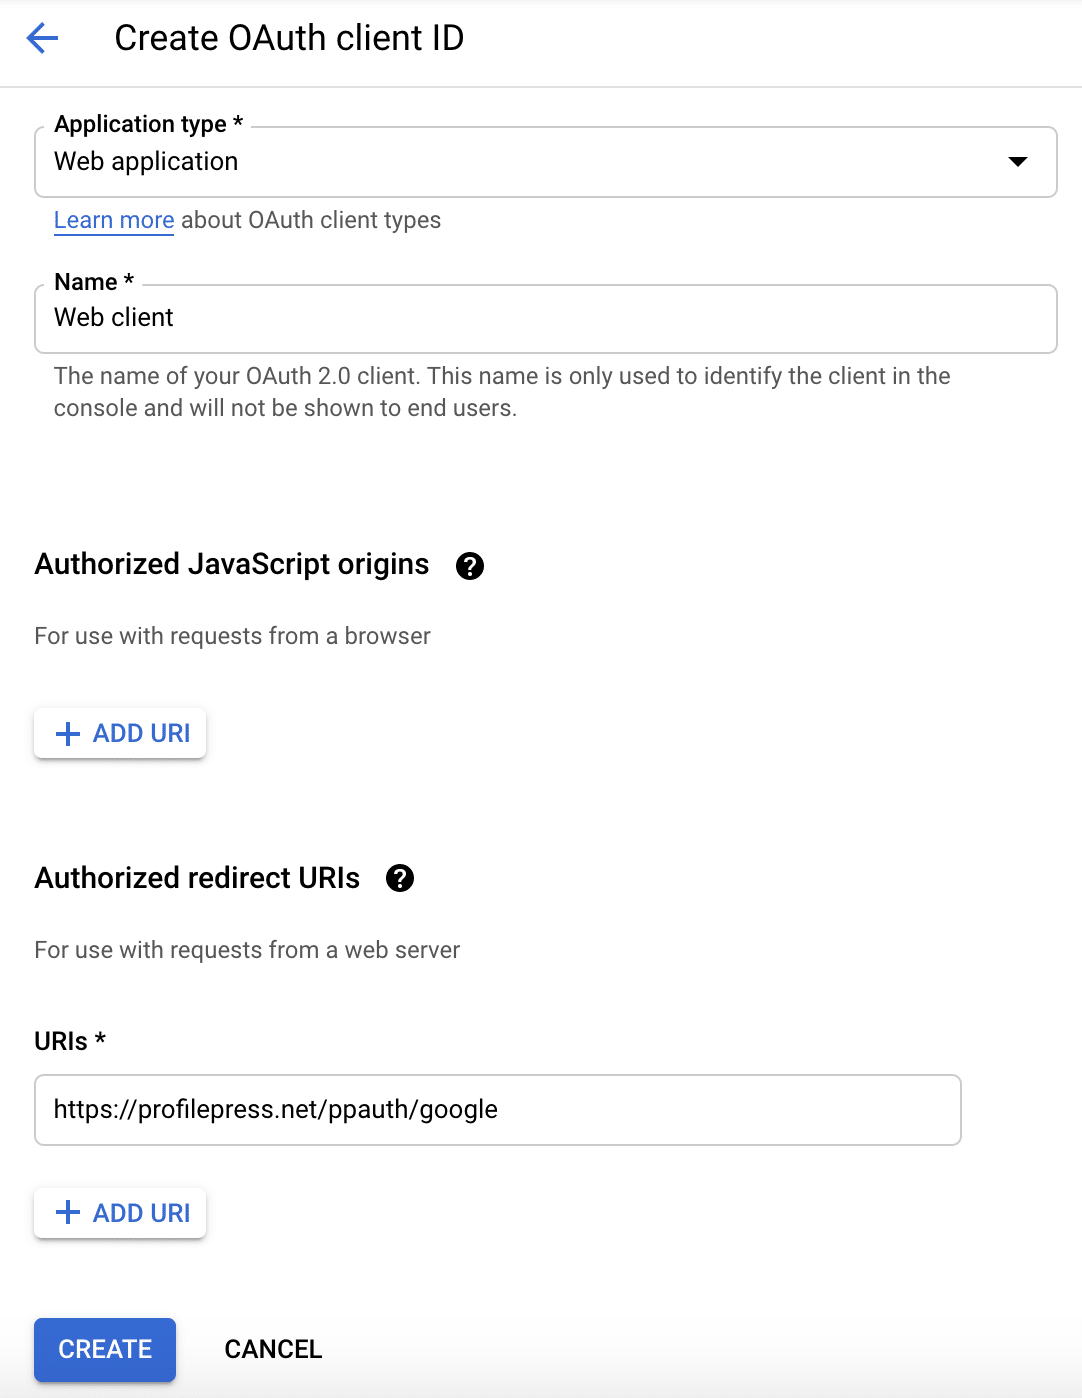
Click on the Credentials sidebar menu >> Create Credentials button at the top >> OAuth client ID.
Select “web application” as the application type, set a name and add the following as “Authorized redirect URIs”https://yourwebsite.com/ppauth/google. Replace yourwebsite.com with your website domain.
Hit the Create button when you’re done. A popup with your OAuth credentials will be shown to you. If there isn’t a popup, click the title of the application to reveal the credentials.
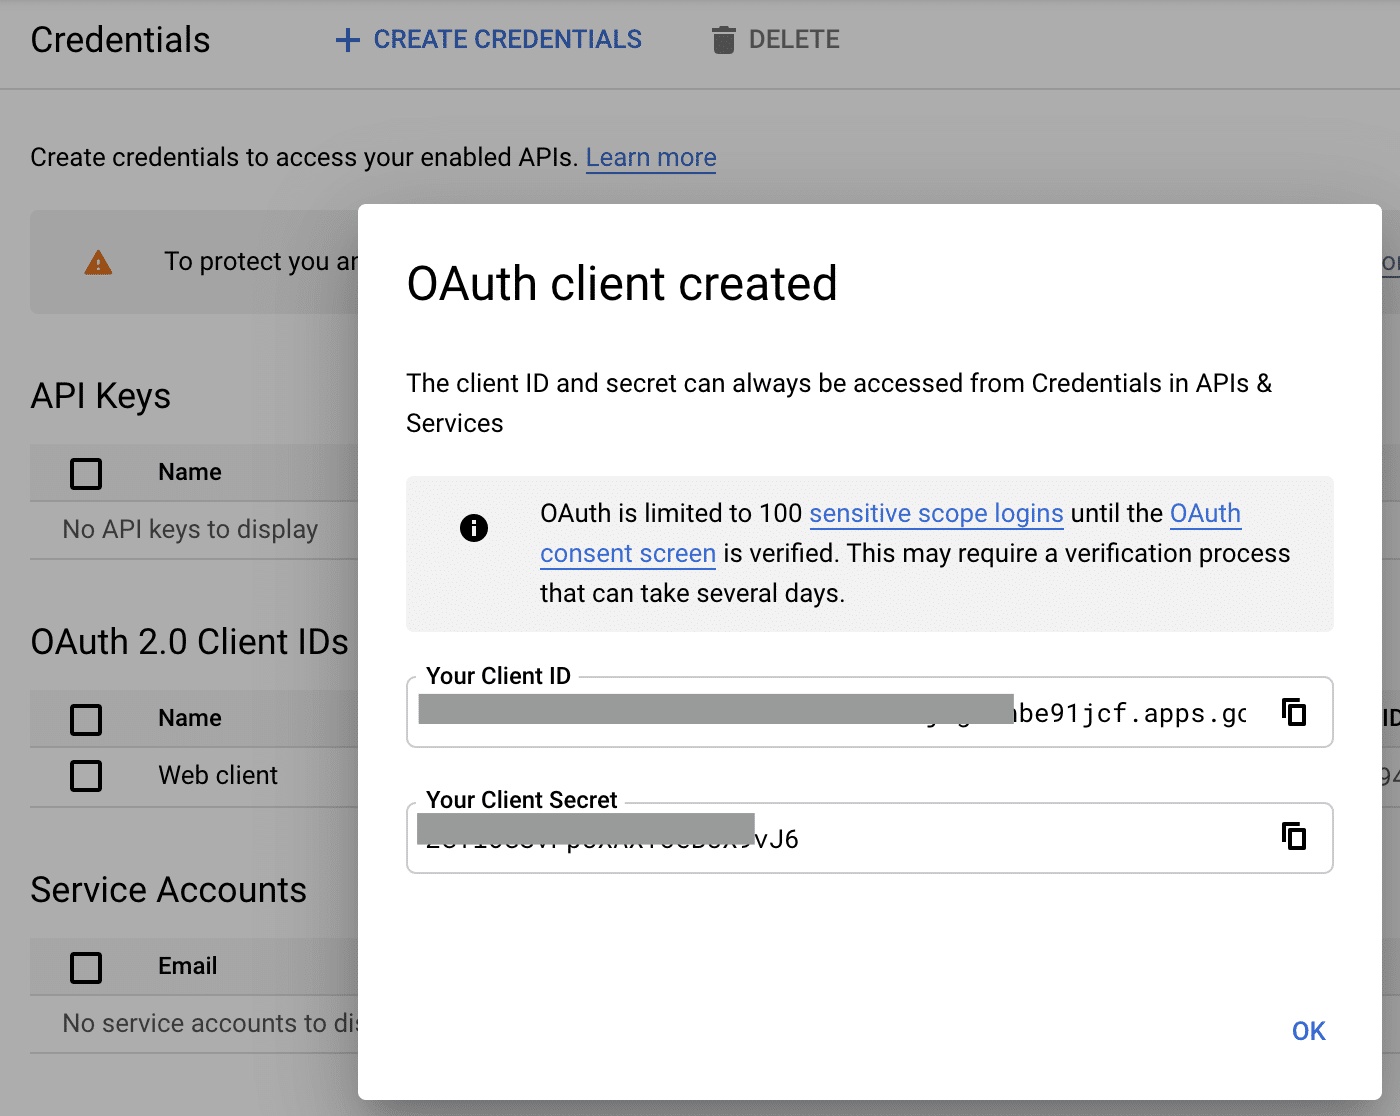
Copy and save the API key and secret to a secure location.
Integrating the Google App with ProfilePress
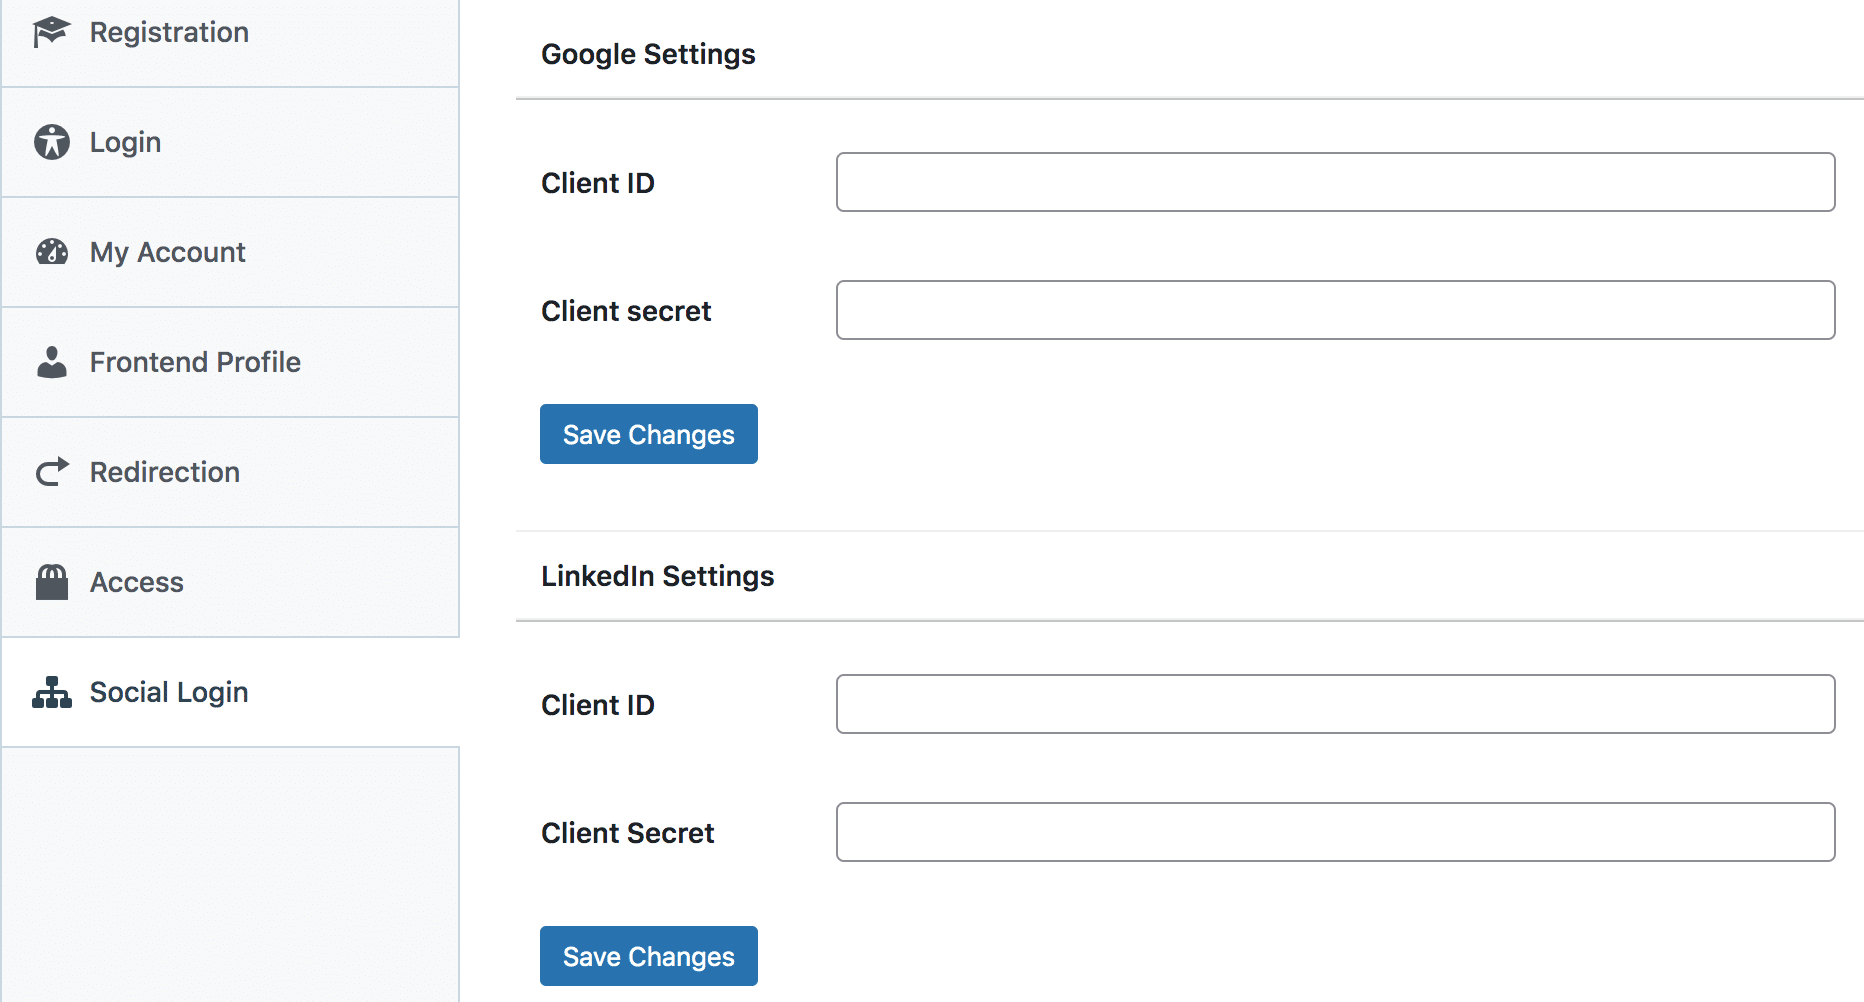
Login to your WordPress dashboard. Go to ProfilePress >> Settings and open the Social Login section.
Save the Client ID and Client Secret keys to the settings.
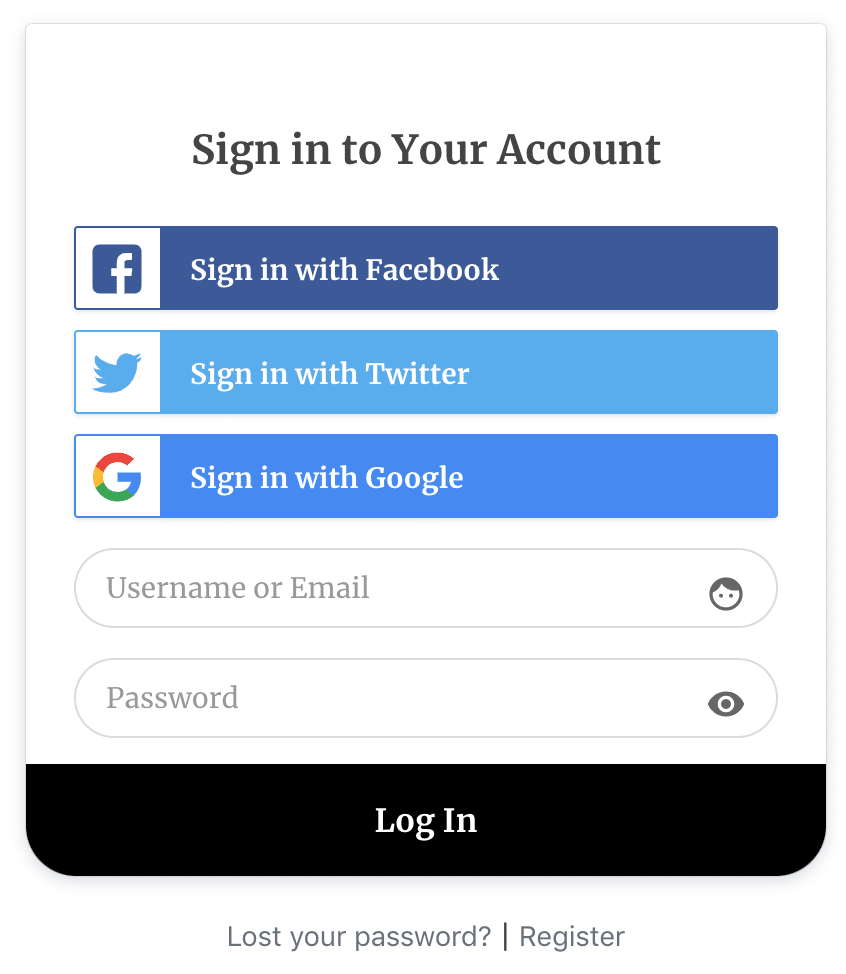
To complete Google social login integration, follow this article to learn how to add the Google login button to your registration and login forms.
The end!
Get ProfilePress & The Social Login Addon