Adding Custom Fields to WordPress User Profile
Do you want to add custom fields to WordPress user profiles so you can collect more information and gain insights into your website users?
By default, the user profile in WordPress does not include fields for Gender and Date of Birth. This makes it challenging to know the distribution of genders and dates of birth among our website users. Having a custom field for the Date of Birth is especially important as it allows us to send birthday greetings and wishes to our users on their special day.
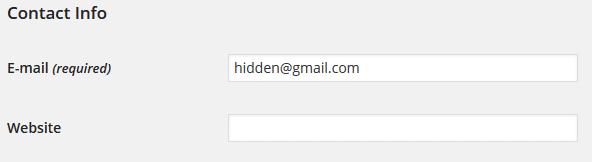
Let’s explore the Contact info section. By default, only the Email and Website fields are available. However, you can add more custom fields if you need to collect additional contact information or other relevant data from your users.
Above are some reasons why adding custom fields to WordPress user profiles is important.
In this tutorial, we will learn how to add more contact methods and custom fields to the WordPress profile using the ProfilePress plugin.
Firstly, ensure you have the Custom Fields addon enabled. Here’s how to activate and deactivate add-ons.
Table of Contents
Adding User Contact Methods
Adding contact methods to the “contact info” section of the WordPress user profile is as easy as filling out a simple form.
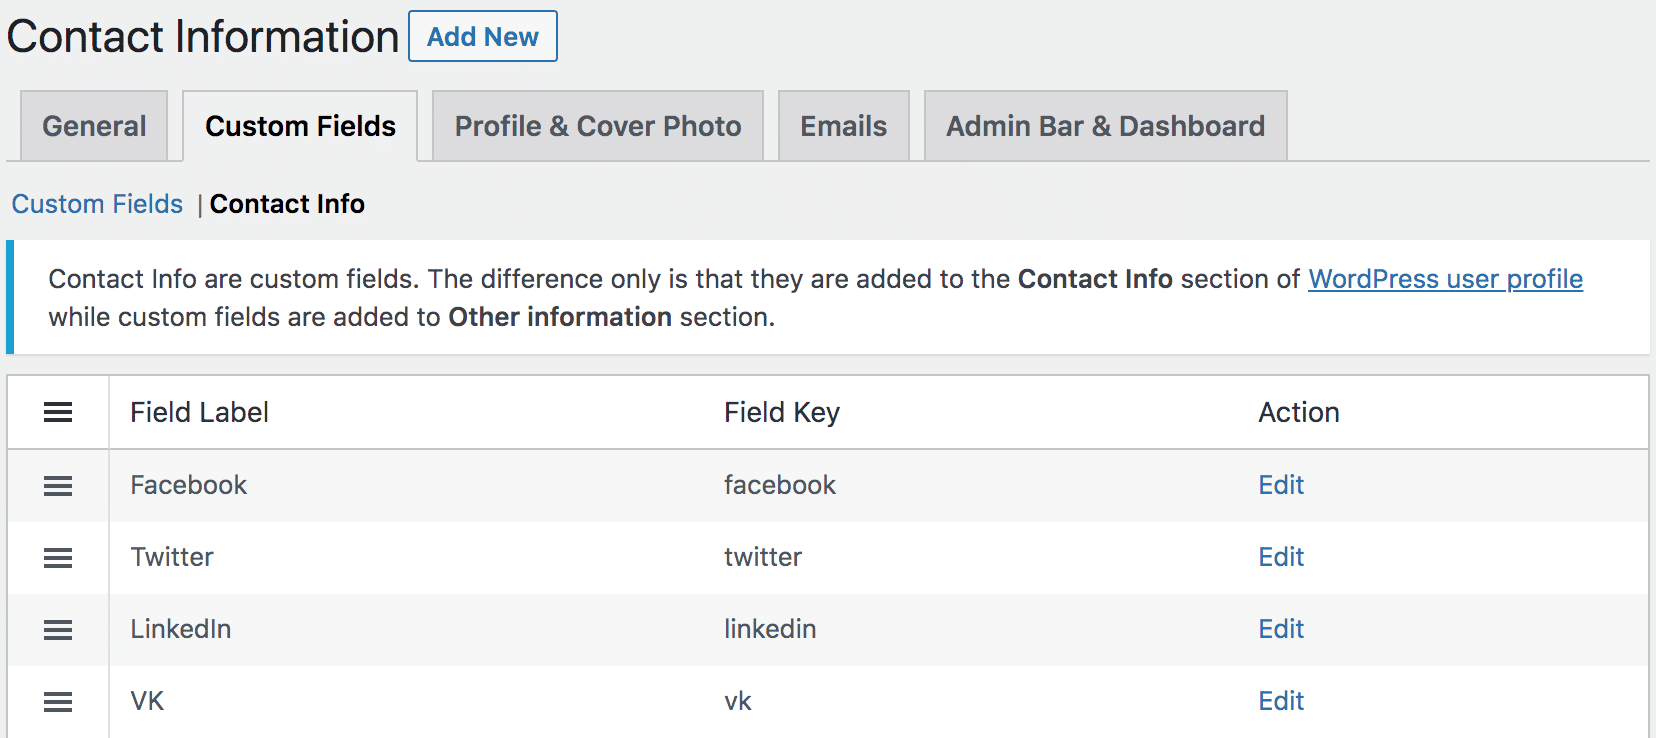
Go to Settings >> Custom Fields and click the Contact Info sub-menu.
Click the Add New button.
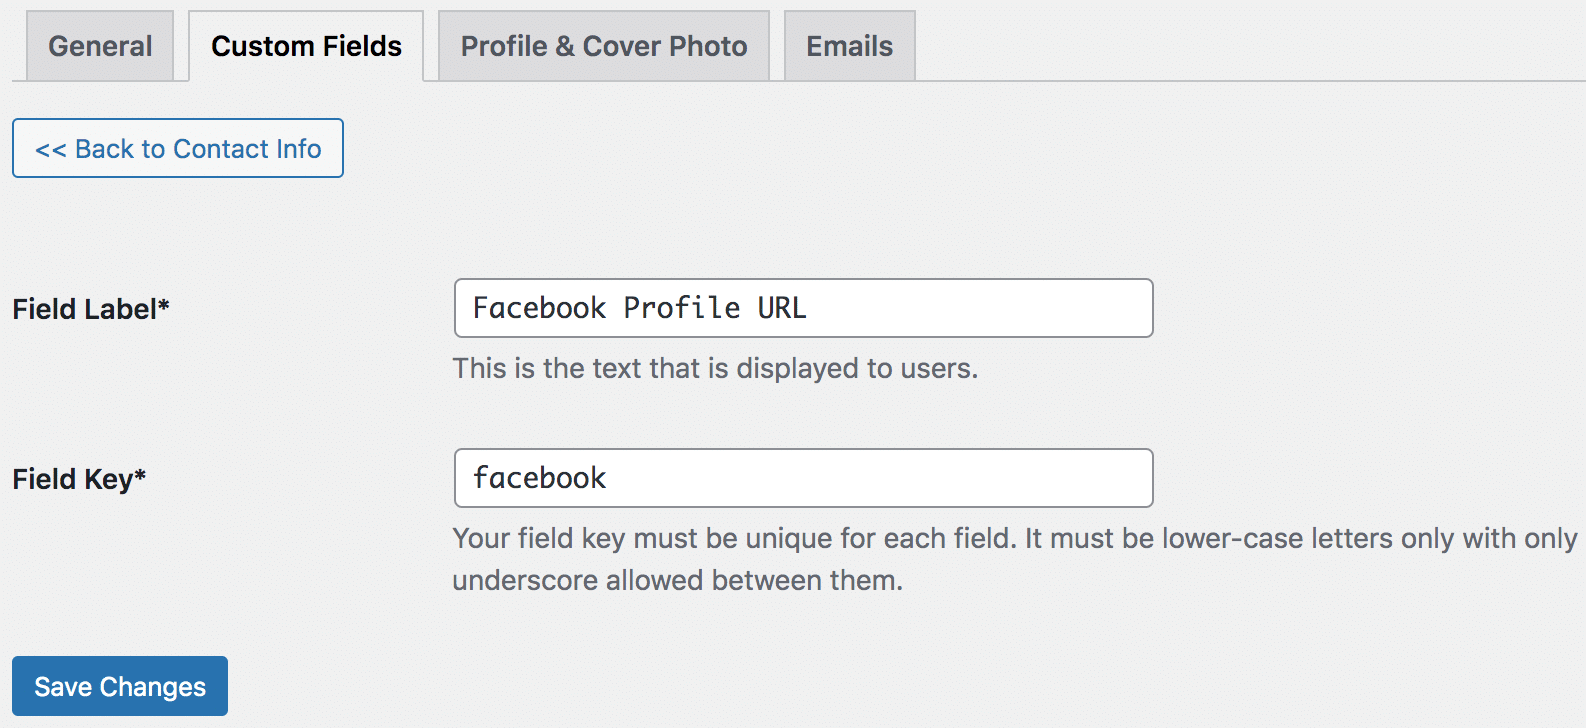
Enter a label and key for the contact info field (see image below), where `key` is a unique name used internally by WordPress to recognize the field and `label` the description of the field displayed to users.
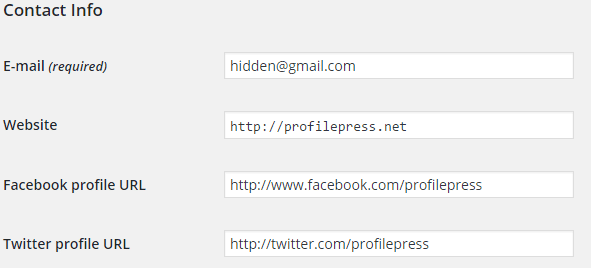
After submitting the form, check your profile or that of a user, and you will see the contact method added to the contact info section.
Adding Custom Profile Fields
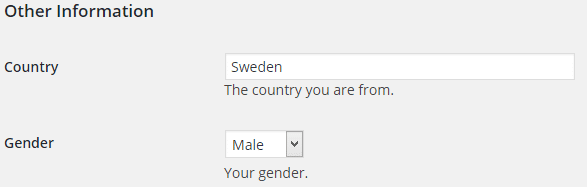
When you add custom profile fields via ProfilePress, they are automatically added to the Other Information profile section.
Follow the steps below.
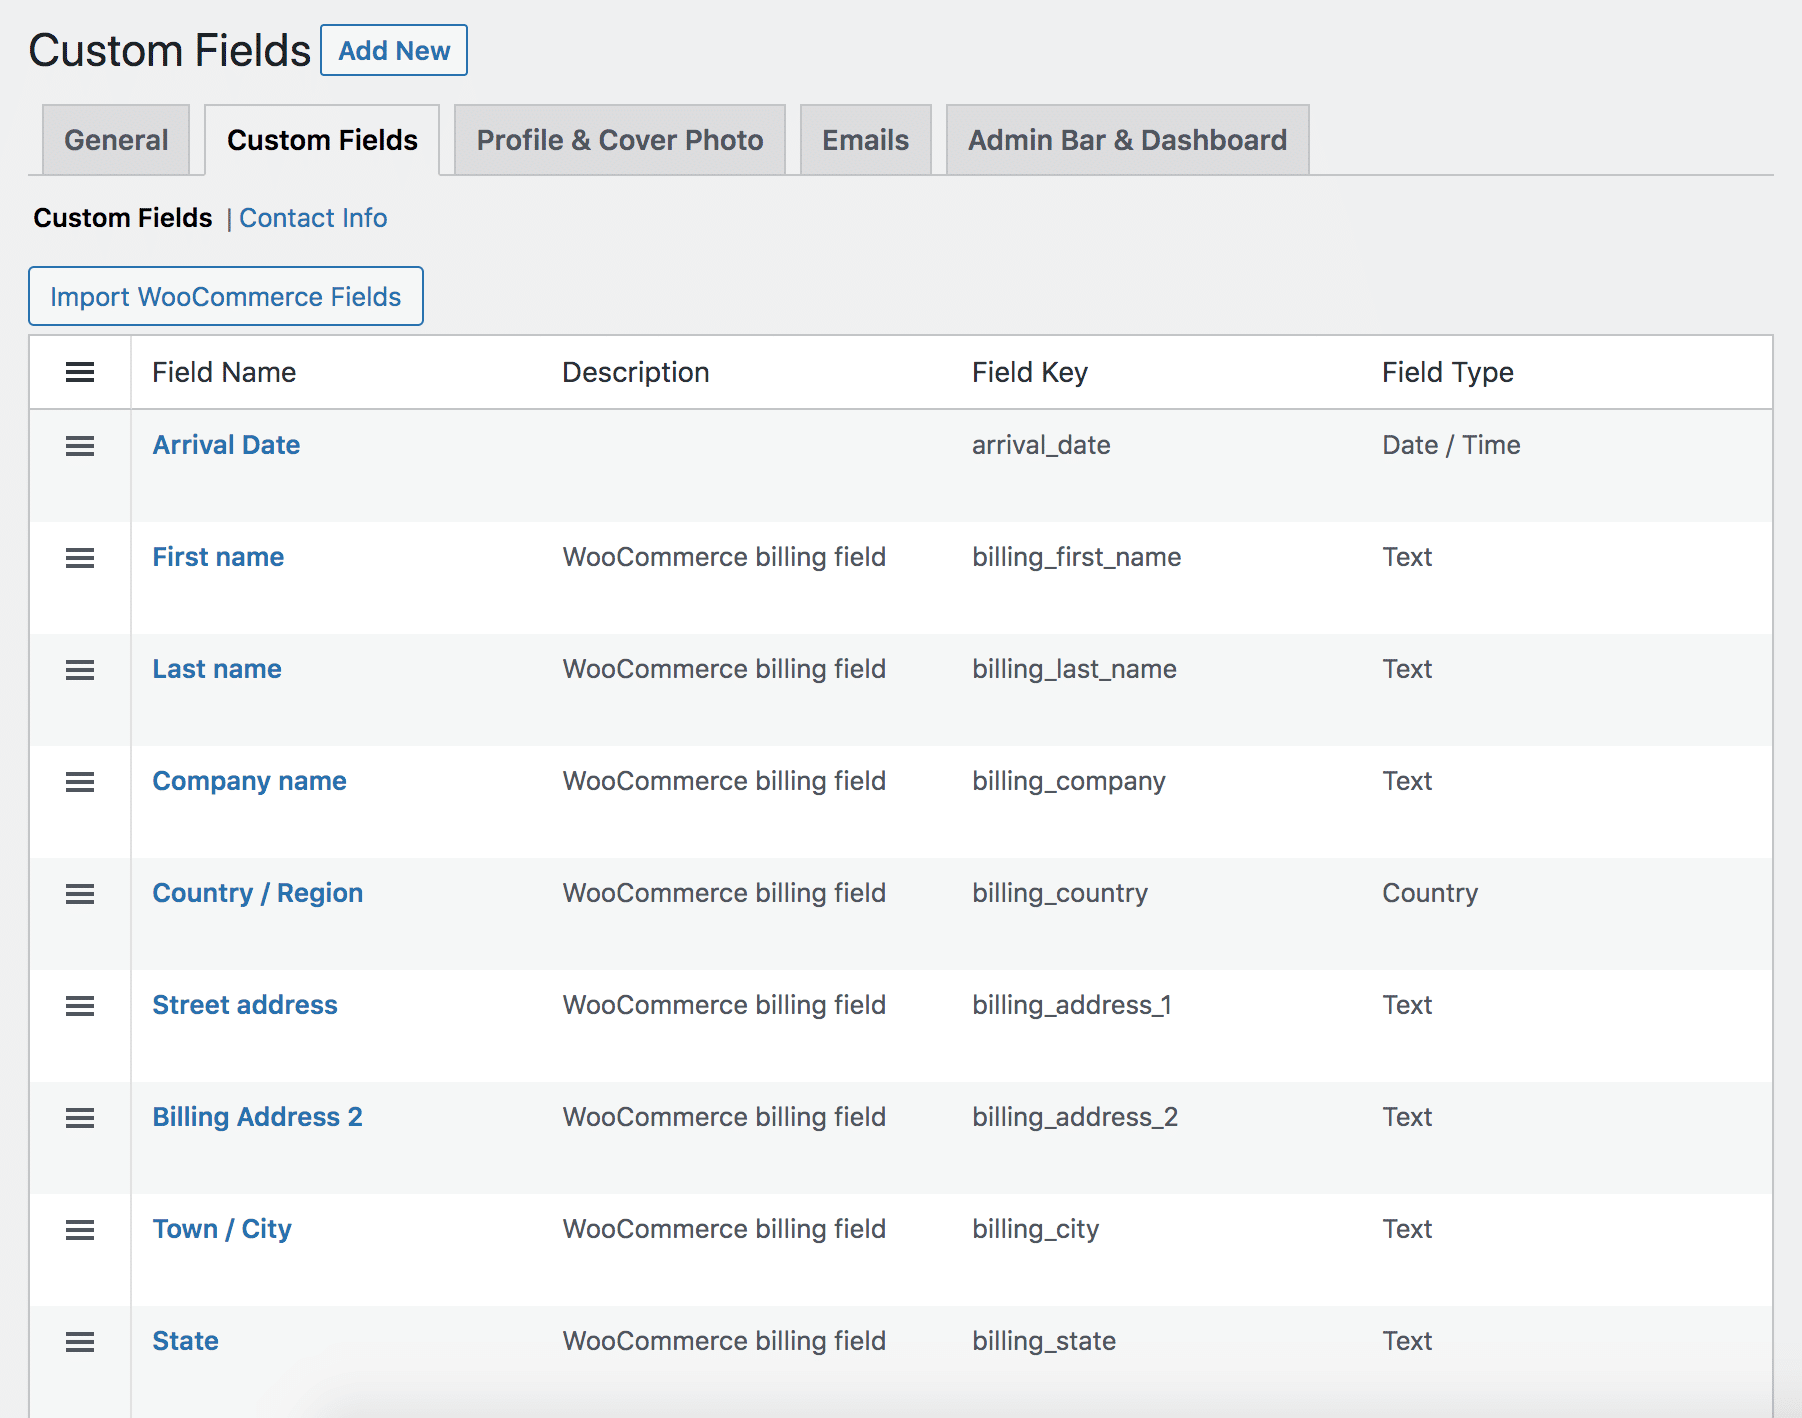
Go to Settings >> Custom Fields and ensure you are on the Custom Fields sub-menu.
Click the Add New button.
Fill out the form with the field details, then hit the submit button.
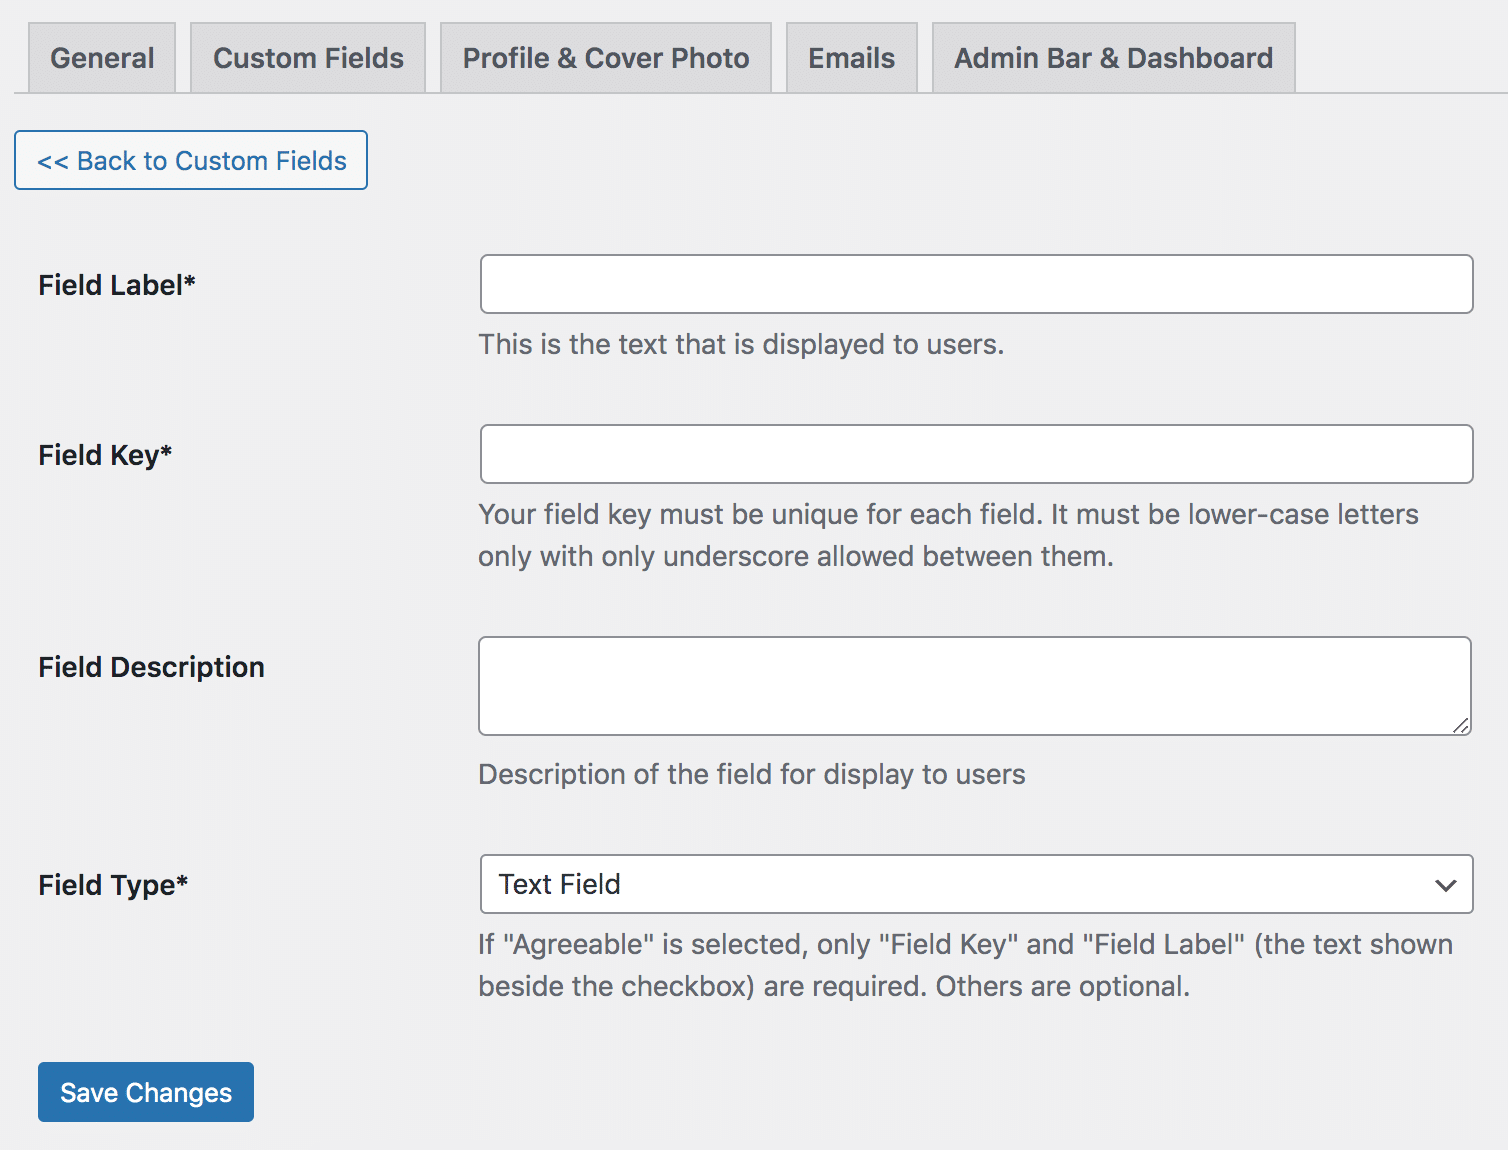
Field Label: This is the text that will be shown beside the custom field.
Field Key: The key is used internally by ProfilePress to create and save values associated with the custom field.
Field Description: This is the text that will be shown below the custom field.
Type: The form element to use as the form field.
Options: only for use when multiple choices, i.e. select, check box, and radio buttons, are chosen as the field type.
Say you want to add a radio button with options “yes” and “no”; choose Radio Buttons in Type and add the radio button options to the Options field separated with a comma ( i.e., yes, no ).
You should now see the custom fields added to users’ profiles.
Sorting the Contact Info and Custom Fields
The contact methods and custom fields added to the WordPress user profile can be sorted or re-arranged by drag-and-drop.
Improving WordPress User Profiles With Custom Fields
This tutorial shows you how to add custom fields to the WordPress User profile using the ProfilePress membership plugin. This lets you gather more diverse and relevant user information and enhances your ability to tailor your website to the unique preferences of your audience.
What are you waiting for? Add custom fields to your WordPress site’s user profile page today to better understand your users.