How to Create a Custom WordPress Login URL
Looking for a way to hide your site’s login URL or change the default WordPress login URL to a custom URL? Create a custom WordPress login URL.
The WordPress login page follows the same format for every WordPress-powered site. Unfortunately, this means just about anyone can access it. As a result, this increases the chances of your WordPress site getting hacked by unauthorized users. This is why it’s best to create a custom WordPress login URL.
With a custom WordPress URL, you can protect your site’s login page, making it difficult to “guess” or brute force for hackers.
This article will look at how to create a WordPress custom login URL for your site and replace it with the default one in four simple steps.
Table of Contents
Why create a custom WordPress login URL?
By default, WordPress uses either the “/wp-admin/” URL or the “/wp-login.php” URL for the login page.
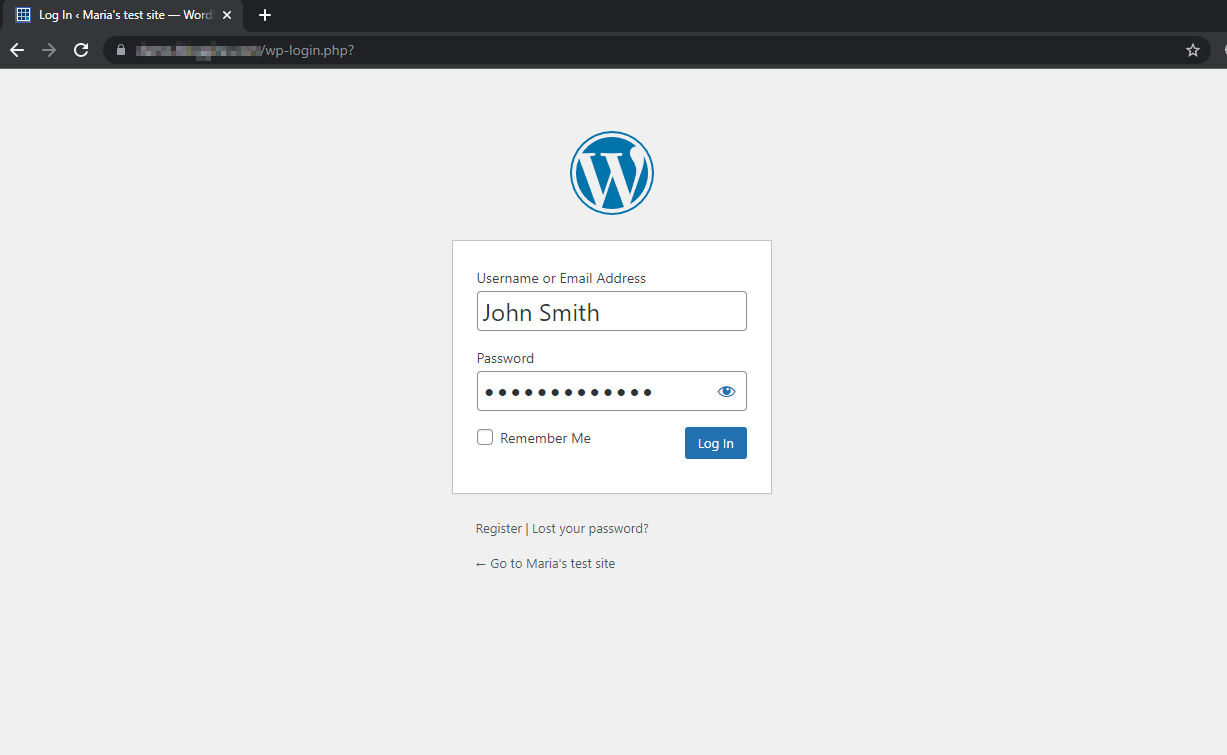
This makes it easy to guess and presents a massive risk for your business as it’s prone to unauthorized users trying to log in.
Here are some of the reasons why creating a custom WordPress login URL might be helpful for your business:
- Protecting your WordPress site. Hackers use a technique that lets them guess your password by running software that spins letters until it matches your site’s password. This type of cyber attack (commonly known as the brute force attack) can be prevented if hackers cannot find the login page of your WordPress site in the first place. In addition, saving your site from brute force attacks reduces the load on your site’s servers and helps ensure your site is always online.
- To hide that WordPress powers your site. While WordPress is the most popular CMS for creating a website, it also has the same level of attention from hackers and malicious software attackers. Hackers can take advantage of any vulnerability present in WordPress to access your site and take it down within seconds. This is why it’s best to hide that WordPress powers your site by using a custom login URL. This way, hackers don’t have an easy way of finding out what platform your site is hosted on.
- To create a more engaging or branded login screen for your users. The default WordPress login screen is pretty generic-looking. Using a custom login URL allows you to showcase a more appealing login page.
Creating a custom WordPress login URL
If you’re using default WordPress, there isn’t a way to customize the login URL of your site. This is why using a WordPress login plugin such as ProfilePress is best.
ProfilePress is a WordPress user redirection plugin that gives you complete control over how users are redirected when they log in or register on your WordPress site.
It has features that let you redirect users to specific pages on your site after logging in. In addition, it enables you to redirect users when they log out from your site and control where users are redirected once they register on your WordPress site.
How to create a custom WordPress login URL
You can start creating custom WordPress login and registration pages to redirect users when they land on your site. But first, ensure you have the ProfilePress plugin installed and activated on your WordPress site.
Navigate to ProfilePress → Forms & Profiles and click the Add New button.
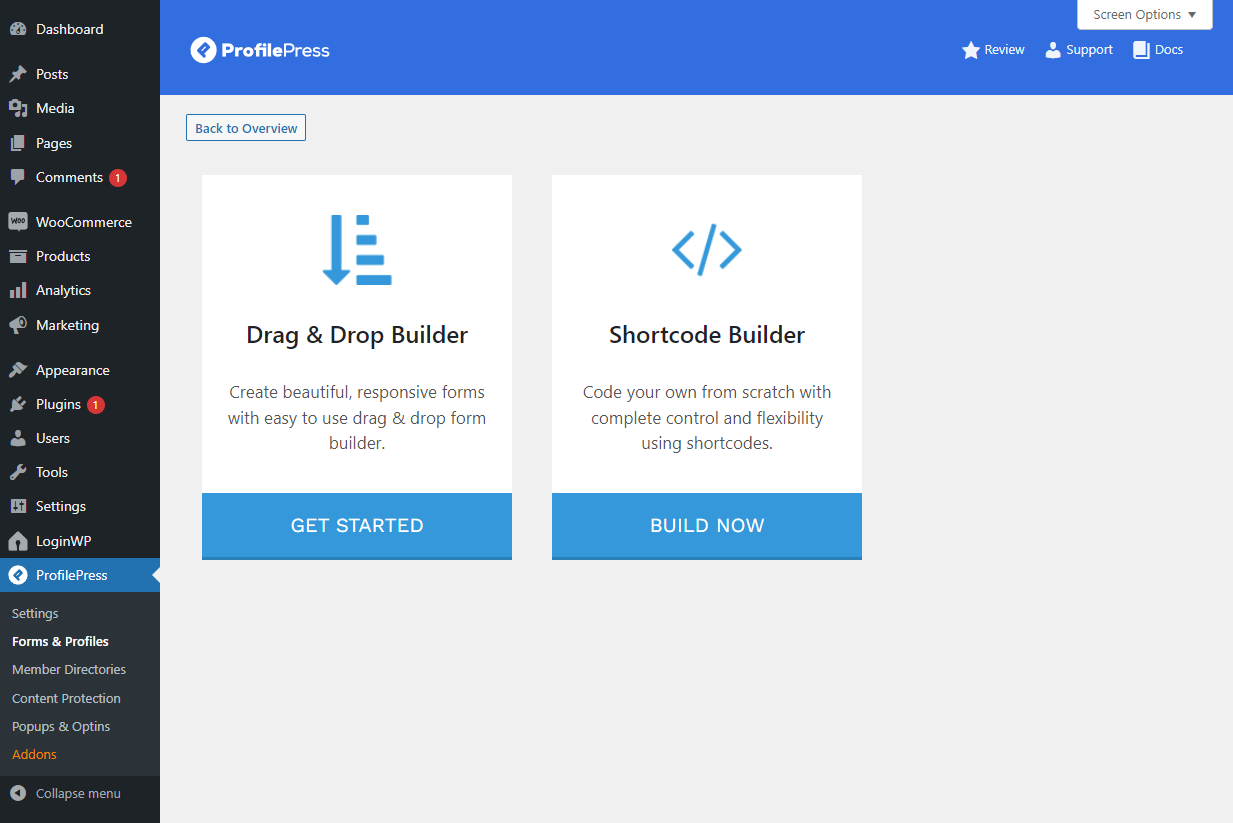
You can select the Drag & Drop Builder or Shortcode Builder.
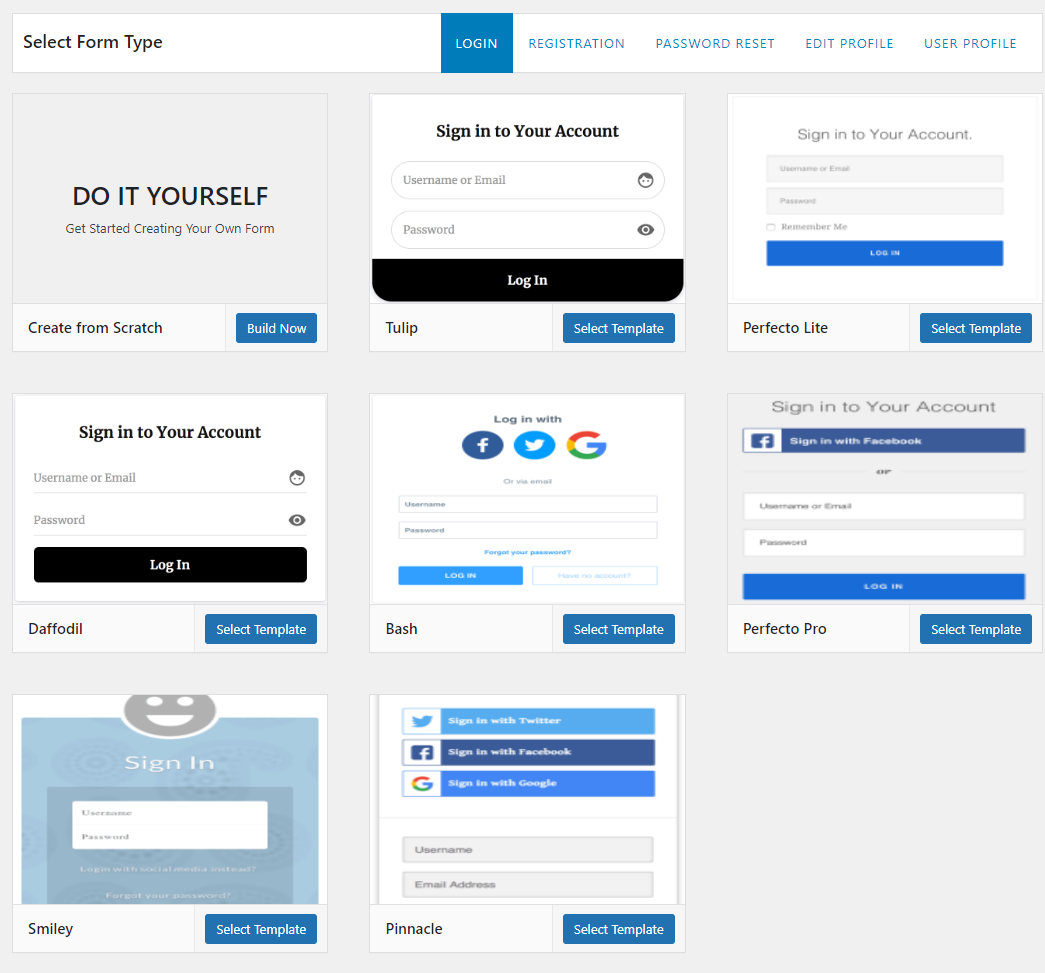
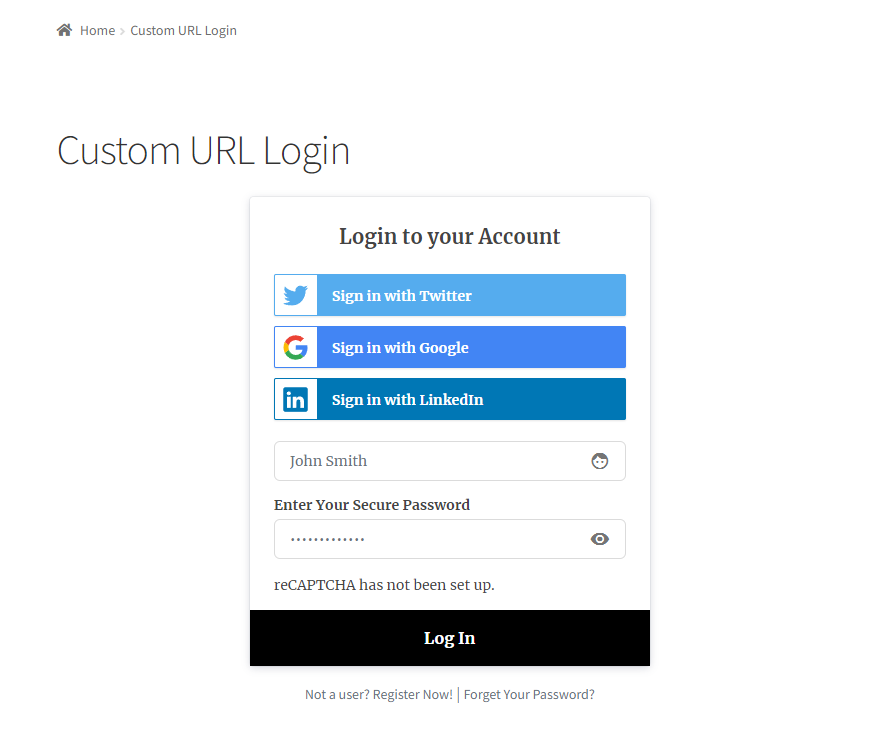
Now, name your form and select Login from the Select Form Type menu. You can choose from pre-designed templates or select the Create from Scratch option.
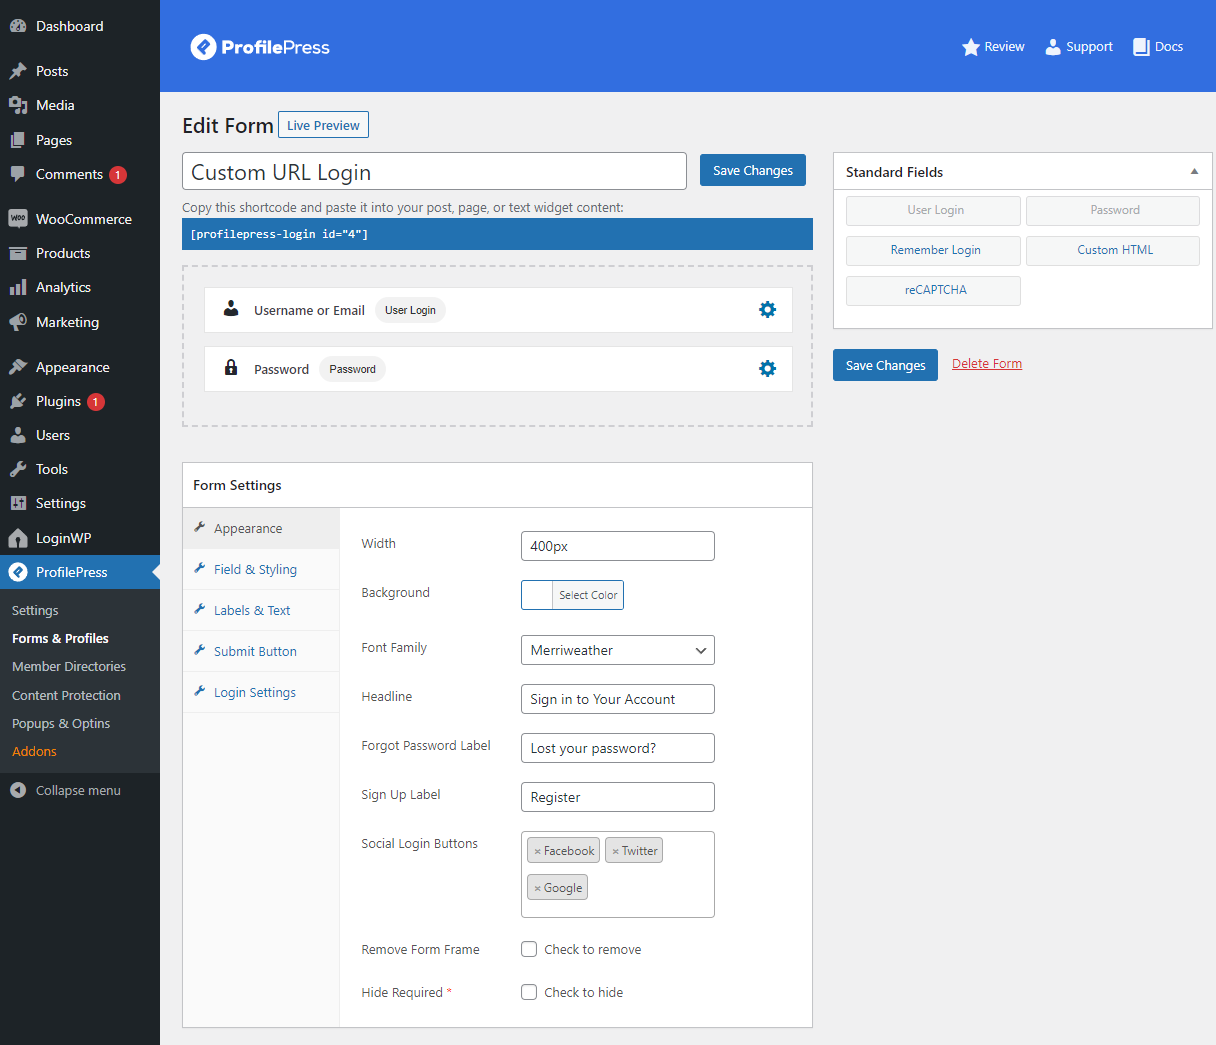
Once you click the Select Template button, you will be redirected to the form edit page. Here, you can customize the login form exactly as required by adding extra fields and setting custom field labels. Then, drag and drop any fields using the Standard Fields meta box or click on the clone icon next to the field to create a duplicate copy of a field.
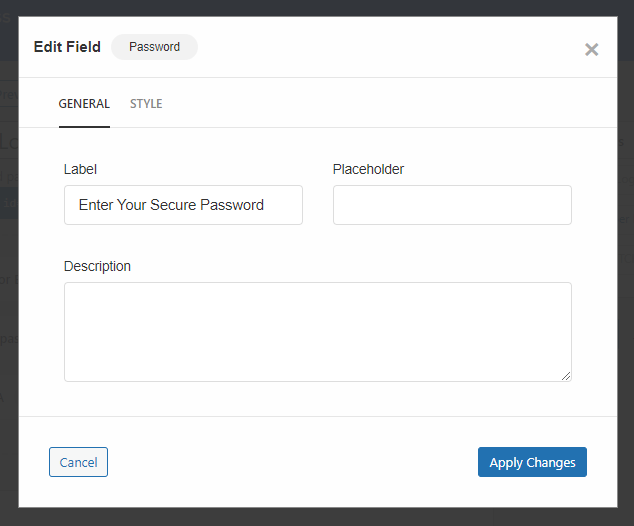
You can then click on the little settings icon to customize field details and create custom fields for users to fill out when they log in to your site.
It’s also possible to set custom colors and typography for your login forms. Using the Form Settings meta box, click on the Appearance tab to view all customization options related to the overall look of the login form.
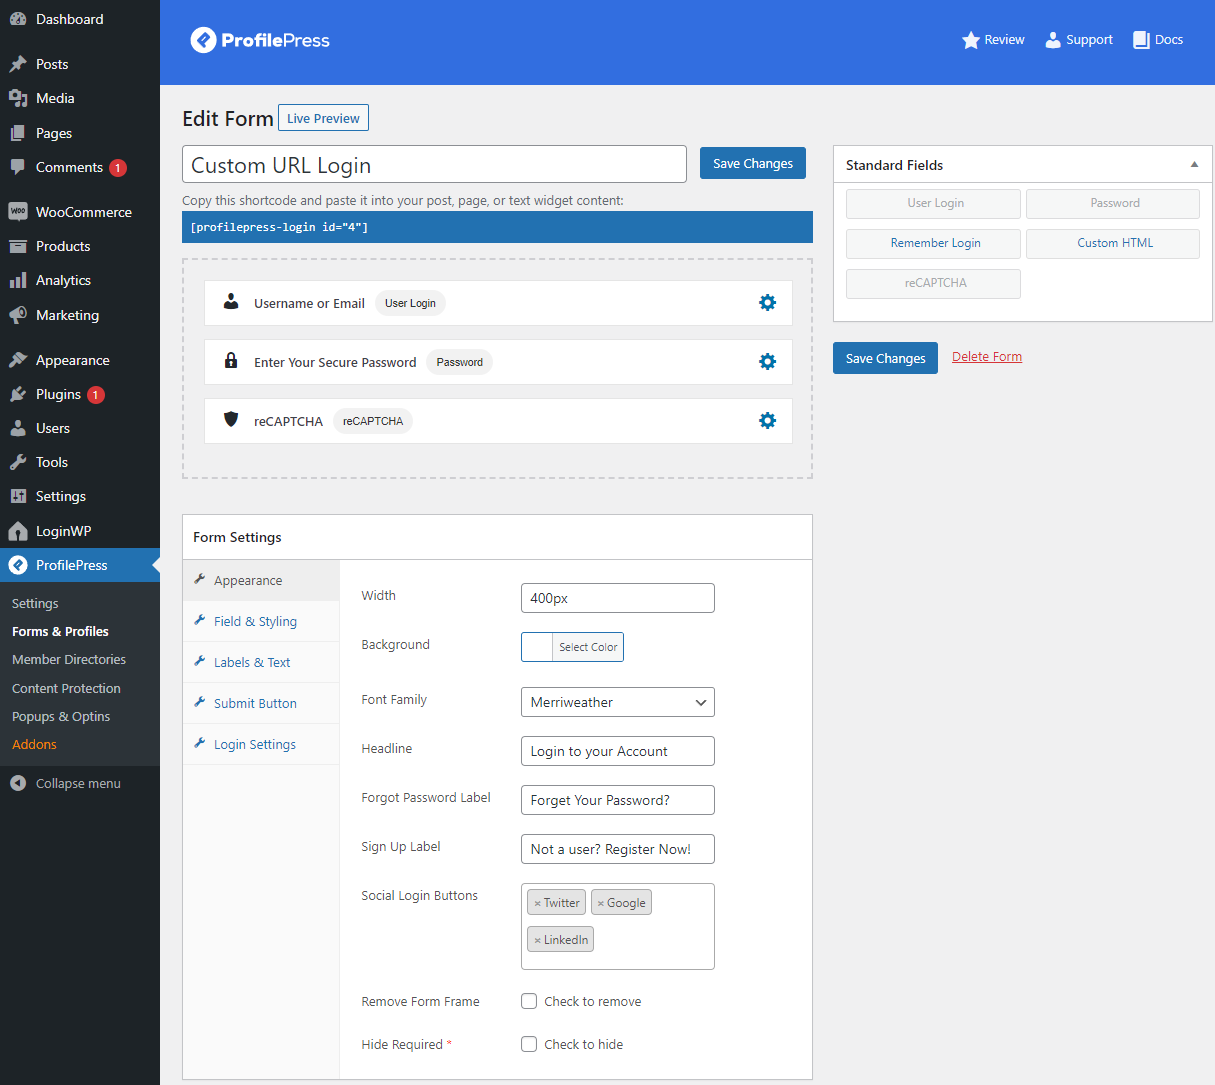
Using the Fields & Styling tab, you can also change field size and how fields look on the frontend. Similarly, you can customize how the text looks using the Labels & Text tab and create a unique looking submit button using the Submit Button tab.
Click on the Save Changes button to continue.
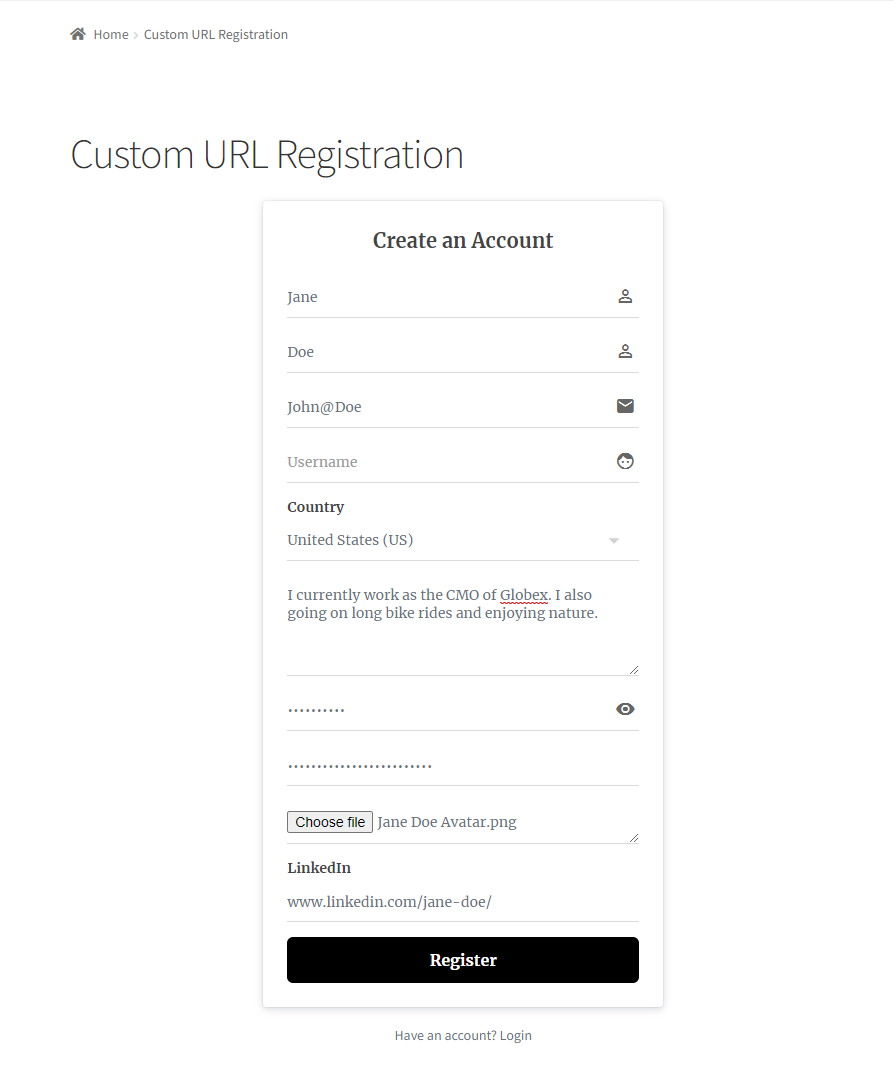
Following the steps mentioned above, you can create a custom registration page for your WordPress site.
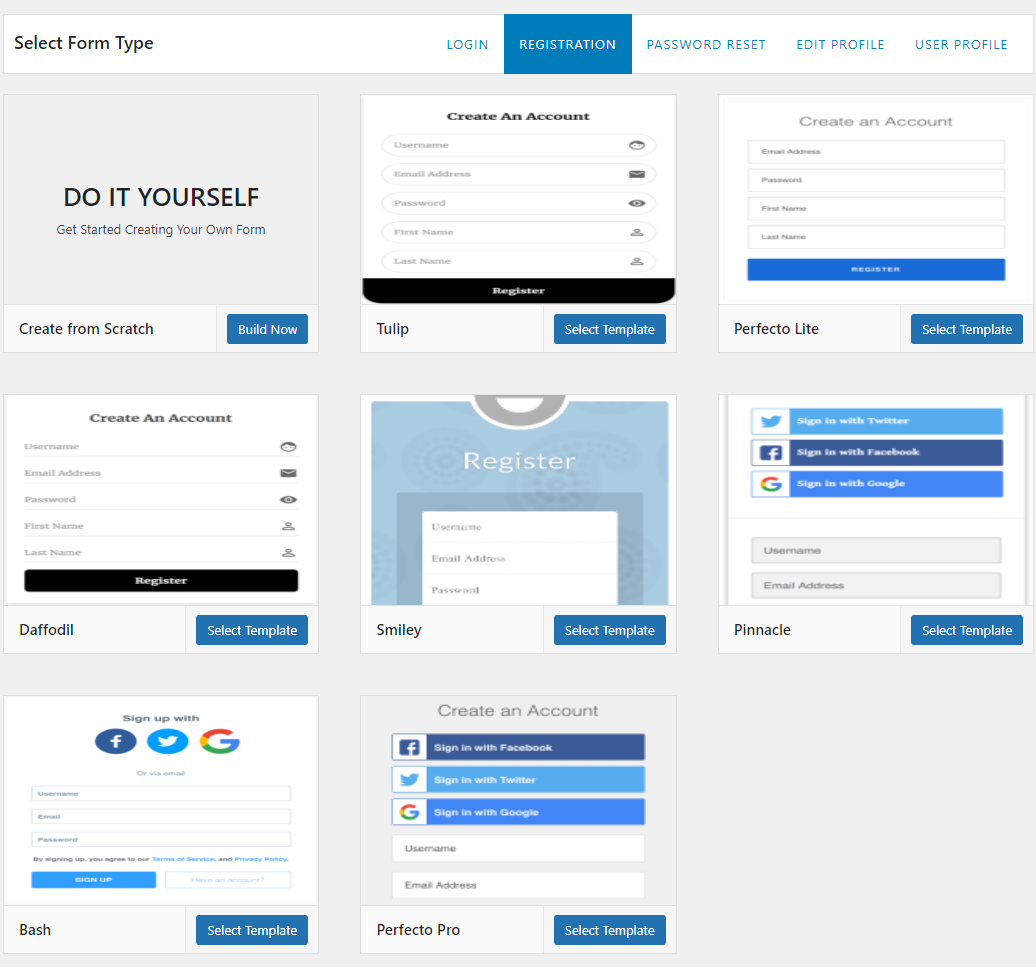
After creating a new form, select Registration from the Select Form Type option. Once you choose the template to begin customizing, it will automatically take you to the Edit Form page.
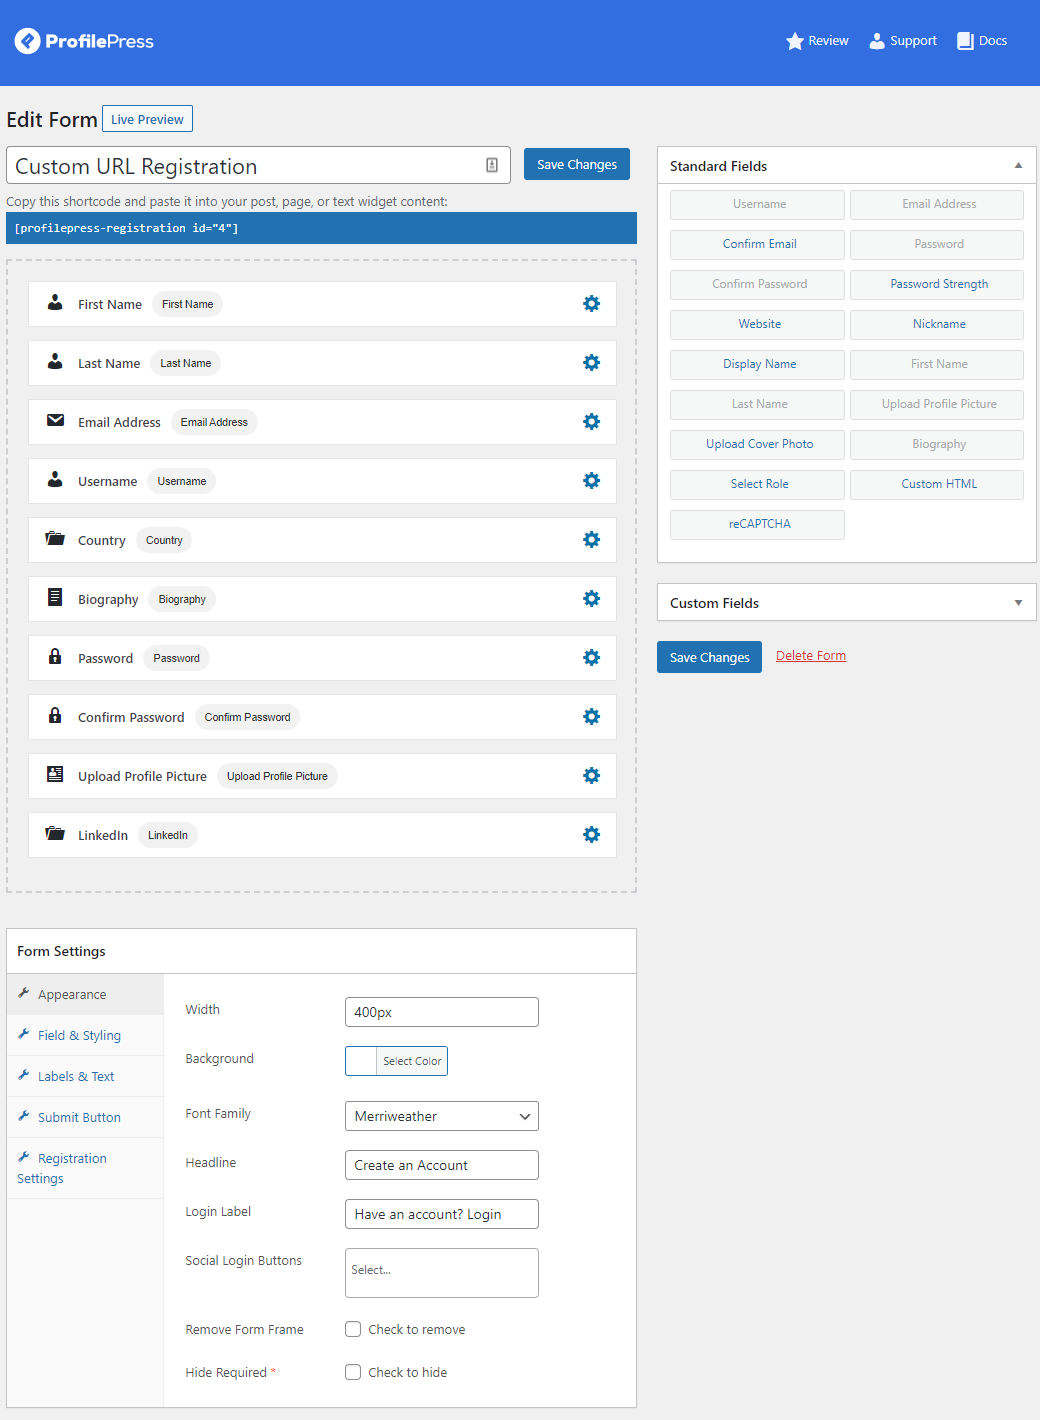
As before, you can add fields and customize the form to get your desired look and feel.
With custom login and registration pages created and ready to go, paste the form shortcode into new WordPress pages.

Click on the Publish button to continue.
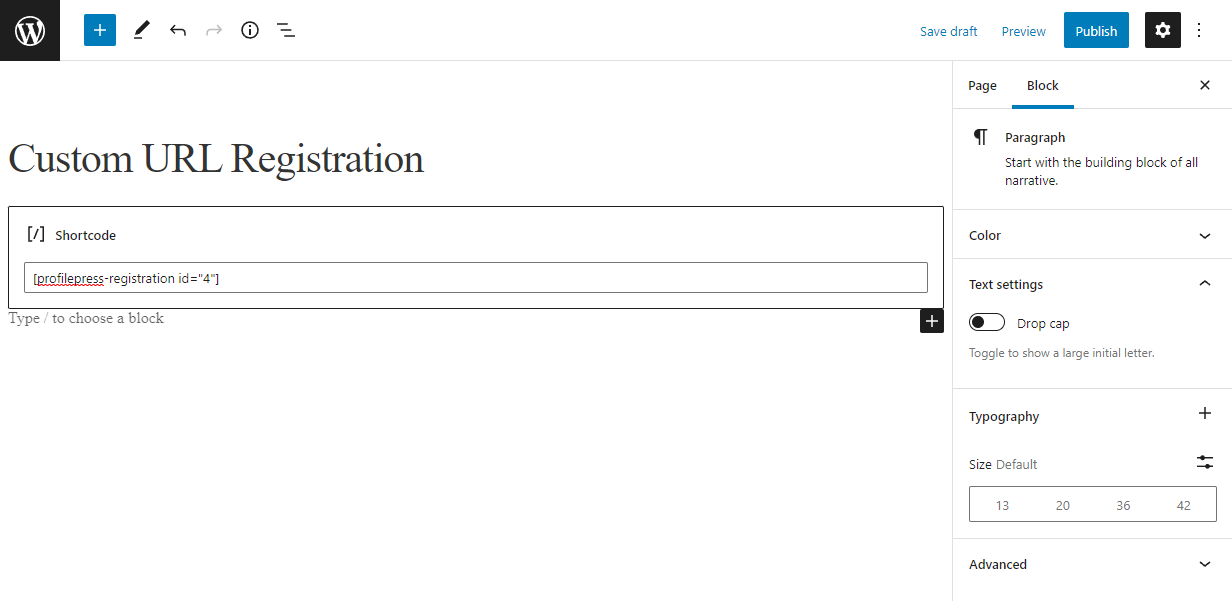
These pages will serve as your website’s custom login and registration page.
Customizing the default WordPress login URL
Once you’re done publishing both login and registration pages with ProfilePress form shortcodes, we need to change the default WordPress login URL to a custom login URL. Navigate to ProfilePress → Settings to replace the default WordPress pages with custom ProfilePress ones to update the URL.
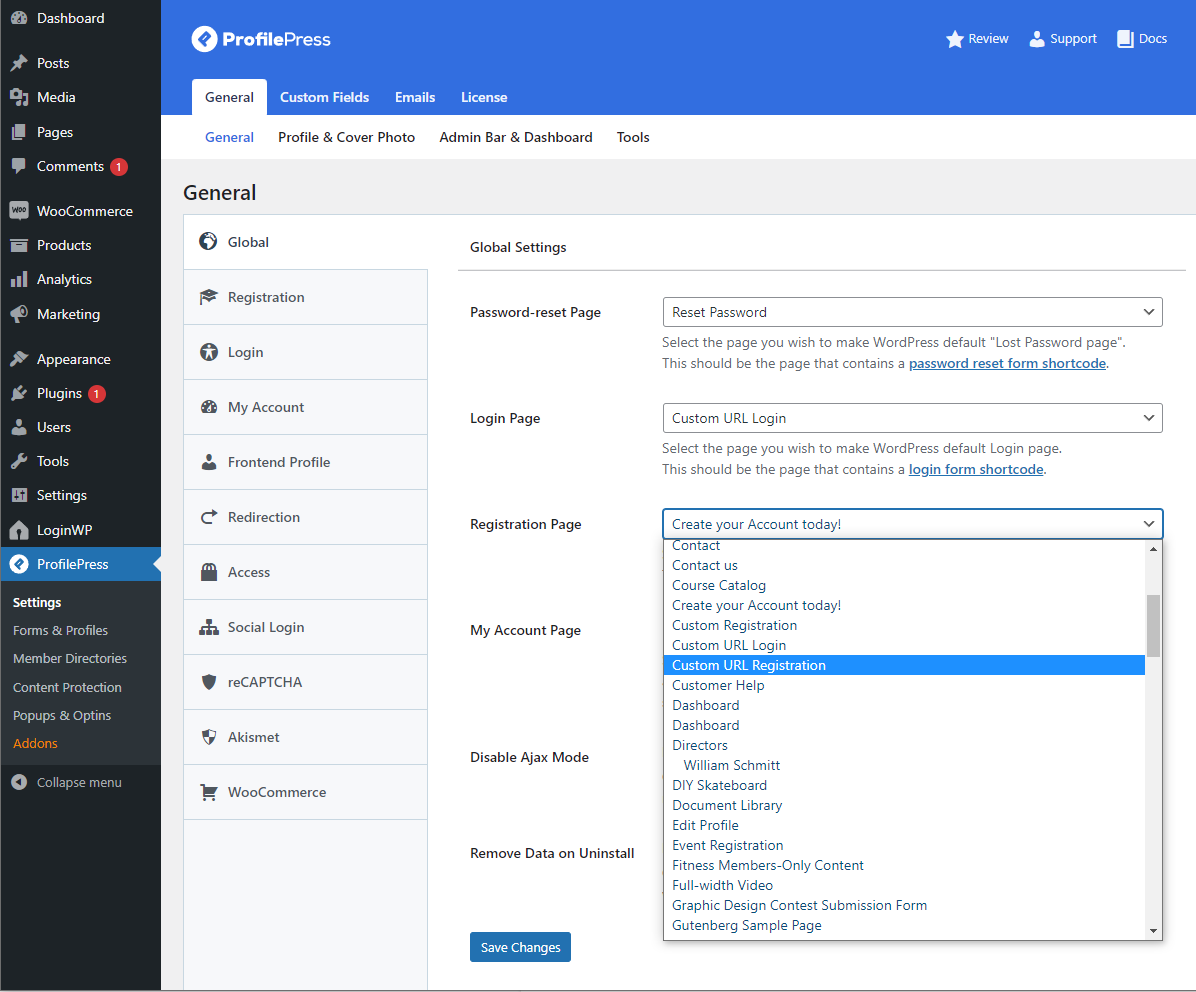
Select the newly created pages with ProfilePress shortcodes using the Login Page and Registration Page dropdown menu.
Doing this will redirect all visits to the default WordPress login (/wp-login.php) to the custom login page. Also, it hides your default WordPress login URL and makes it much harder for hackers to access it.
Similarly, users who don’t have an account can click on the Don’t have an account? Register Now! Button to create an account using a custom registration page.
Redirecting users to a custom page after login
The next step is to set where users are directed after logging in or logging out from your WordPress site. We will look at using ProfilePress to achieve this.
User Redirection Using ProfilePress
To redirect WordPress users to a custom URL after they log in, log out and reset their password, click on the Redirection tab, and enter custom URLs using the text fields next to Login and Logout.
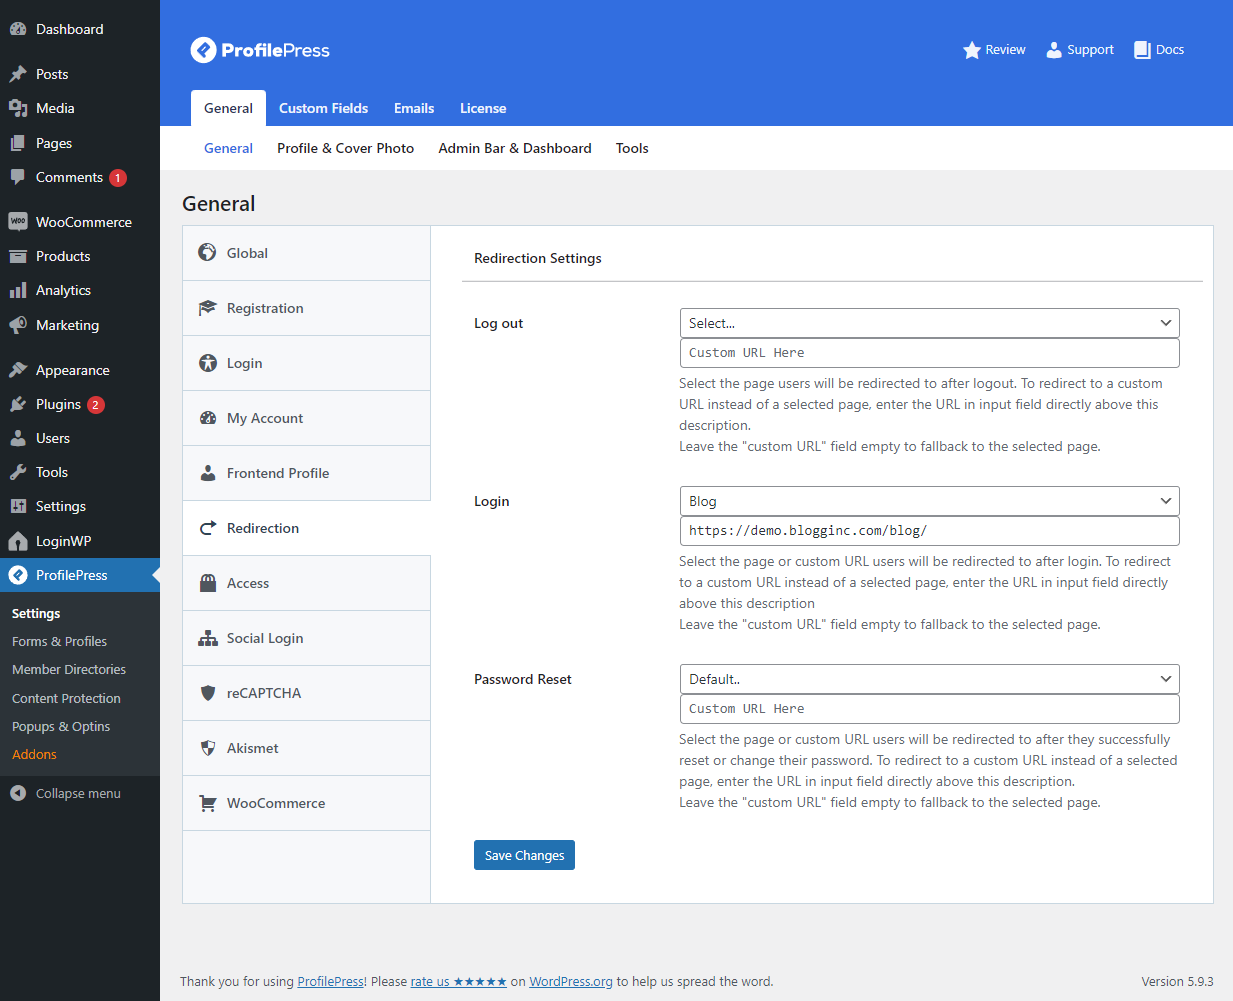
Click the Save Changes button.
Conclusion
While WordPress, by default, offers limited functionality for changing the login URL of your site, you can use ProfilePress to keep your site protected from brute force attacks while also enhancing the user experience.
ProfilePress lets you create custom WordPress login and registration pages while having complete control over how they look on the front-end of your site. And also help redirect users to the relevant page after they log in to your site.
Ready to create a custom WordPress login URL for your site? Get ProfilePress today!